Hardcore Droid’s Chapter 5 Pascal’s Wager Walkthrough
After fighting your way through Katib then you’re ready to explore Edith. If you’ve yet to fight your way through chapter 4 of Giant Global’s intense RPG, you can find our Pascal’s Wager chapter 4 walkthrough here. Over a decade ago, the church banished the Demiurge people to Edith. Despite Edith being a lightless city, the demiurge continue to survive there. Edith provides more of a challenge then the previous chapters of Pascal’s Wager. If you find yourself getting slaughtered by the demiurge we’re here to help. Check out our Pascal’s Wager chapter 5 walkthrough below.
Find the Bell Man
Travel to Edith and head forward through the graveyard. Just before an archway above a short set of steps, you’ll run into your first enemy—a man dressed in mummer attire wielding a scimitar. Mummer’s typically deal three attacks in rapid succession and can parry your attacks. It’s easy enough to avoid these attacks with a dodge or well-timed block. After taking him out head through the archway. To the right, you’ll see a woman crouched over a corpse. As you approach, she’ll warn you not to turn back. To your left is an altar—activate it, then start down the path to the right to trigger a cutscene.
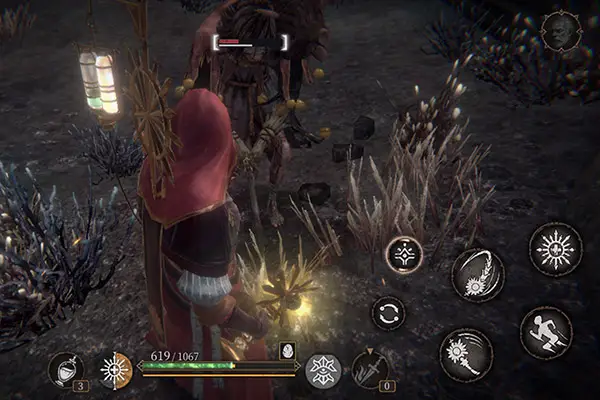
The woman you passed approaches Terrance. She is a demiurge and claims her people have the power to exact revenge on the church. She also informs him that she has sealed the gates to the Blessedland to stop a ‘rat’ who has infiltrated Edith. The man has taken to ringing a bell which seems to cause the demiurge woman physical distress. Terrance concludes the fastest way to get to the Blessedland is to track down the bellman. After speaking with the woman continue up the path. As you pass between two buildings, you’ll come across another mummer marred. Take it out then step forward to trigger a short cutscene in which you’ll see a bell ringing in a tower.
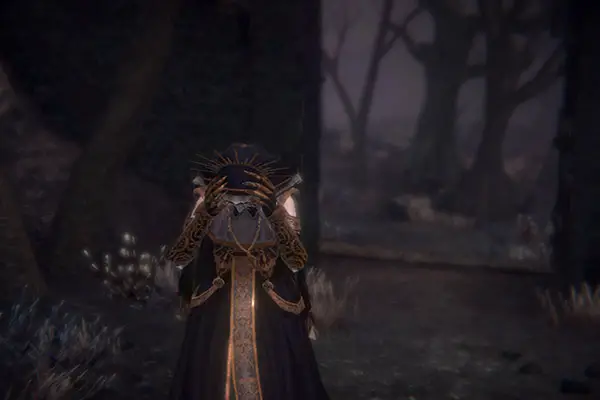
After the cutscene, head to the left and take out the midwife on the rooftop. Then continue up the path made of ramps and rooftops until you come to a second midwife. Take her out then head down the ramp to the lower roof. Grab the antitoxin potions before heading back up the ramp. Continue up the rooftop path. Jump off the last roof by a set of large double doors which cannot be opened from this side.
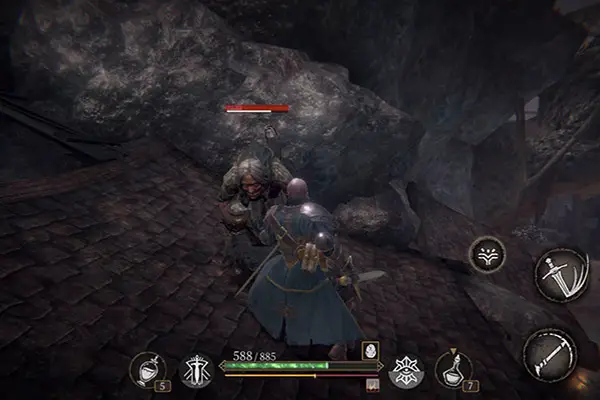
Go to The Bell Tower
Follow the downward-sloping path. Pick up the lost diary page on the platform just past the archway. Go through the archway. You’re now back in the village square. Take out the three mummers. Head straight through the square—avoiding the fire jars thrown by the midwife you can’t reach yet—and you’ll come to a dead end. Pick up the letter about Edith before turning around. Just before the two parallel buildings between which you fought a mummer earlier, turn to your left. Follow the path. You’ll soon be attacked by a demiurge mage capable of summoning a large floating arm to attack you. The demiurge mage also shoots orbs at you. It’s not too difficult to take him out with a few quick attacks. If you wish, jump down through the whole in the roof and take out the mummer then exit through the cottage door and head back up the path. Continue up the path until you reach a ledge then jump down to the bridge below.
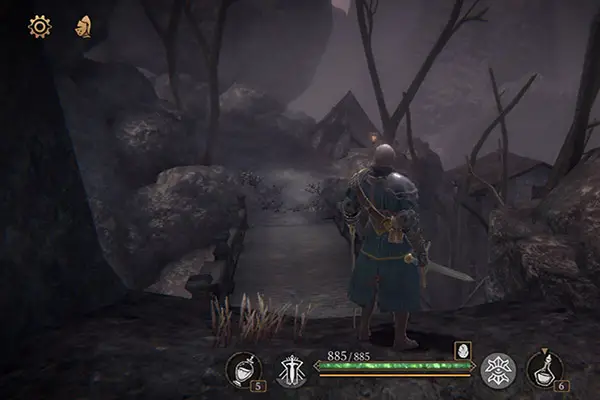
Quickly cross the bridge, avoiding the fire jars the midwife waiting on the other side lobs your way. After defeating the midwife, head forward and deal with the noble woman near the building. Turn around and head down the slender path between the brazier and the small lopsided building. A mummer will leap down from above. Kill him then head into the building ahead and go down the ladder and pick up the document. The door here is locked so you’ll have to backtrack.
Take the Lift
Head around the building near where you took down the noble woman and open the double doors we passed by earlier. Then enter the building and take the lift. Speak with the bellman, who introduces himself as Frollo. He says he’s not a traitor, that he simply tried to stop the demiurge from going down the wrong path. Frollo asks Terrance to tell Elna she is wasting her time. Frollo claims his bells do not affect the demiurge and points out that it has had no effect on Terrance. Go down the lift and you’ll find Elena, the woman you spoke to earlier, waiting for you. She warns you not to get involved in demiurge business. Unsure what is really going on, Terrance decides to investigate the demiurge village
Investigate the Demiurge Village
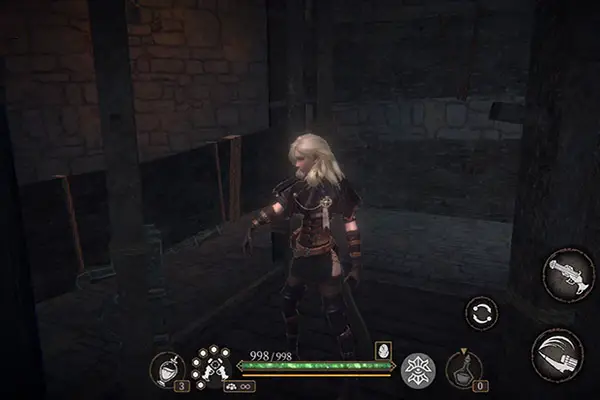
Head back down the slender path, through the building and down the ladder—the door here is now open. Take out the mummer and head through the doorway. There is a mage just outside—take him down. You’ll find yourself in a large circular area with a stone tower in the center. From the doorway, turn to your left and head down the alley to find a Heggie.
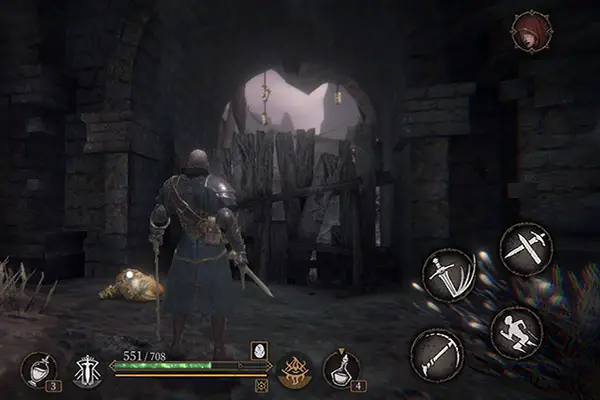
Continue past the alley and you’ll soon come across another mage. After defeating him, deal with the three mages kneeling in front of the large gate. The gate cannot be opened now so turn away from it and continue in the direction you were previously heading. Soon you’ll come to an upward sloping path guarded by a scythe wielding nobleman in a masquerade mask. Be careful with this one—he has a devastating spin attack.
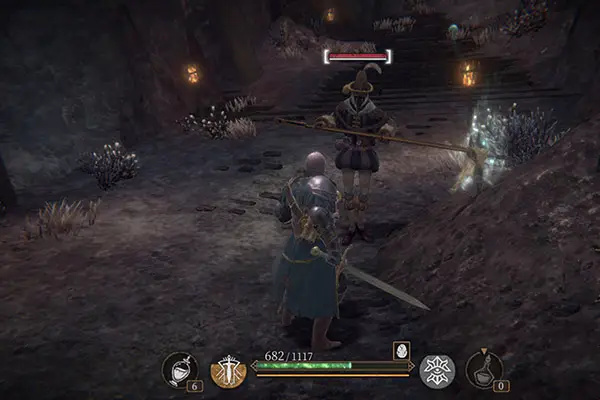
After dealing with him, continue up the path until you reach a bridge. As you begin to cross the bridge a mummer will climb up from the side and attack. Deal with him, then cross the bridge. Head between the two trees to your left to find another Heggie. Head back between the trees and stop next to the boarded-up building. Talk to the people inside if you like, then activate the altar.
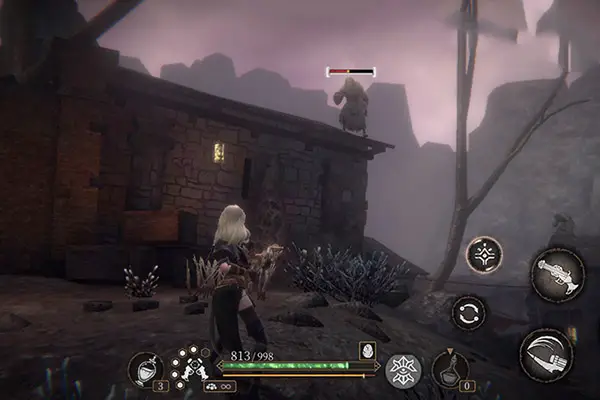
You’ll see a set of doors directly ahead, but they can’t be opened without a key. Continue down the path but be careful, a midwife lurks on a rooftop and will throw fire jars at you. Take her down with throwing knives or other projectiles if you have them. Deal with the mage who is pacing ahead then approach the first house on the right and talk to the woman inside. She asks Terrance to find her son, Andrew. This starts the side quest: Find Andrew.
Through the Cave
Continue down the path. You’ll see a mummer in front of a stone building on top of which a midwife waits. She’ll throw fire jars as you approach but once you get close, she’ll jump down. Take them both out and continue. Another midwife waits on a roof to the left. Deal with her then head to the house to the right and speak to the man inside. He is cold and asks Terrance to bring him a candle. This initiates the “Old Man and the Candle” side quest. Go down the stairs, follow the path taking out a lizard marred and a mage. If you don’t take them out quickly, a mummer walking the path ahead will join in the fray. Continue towards the nearby stone archway and deal with the mummer. Head through the shallow water.
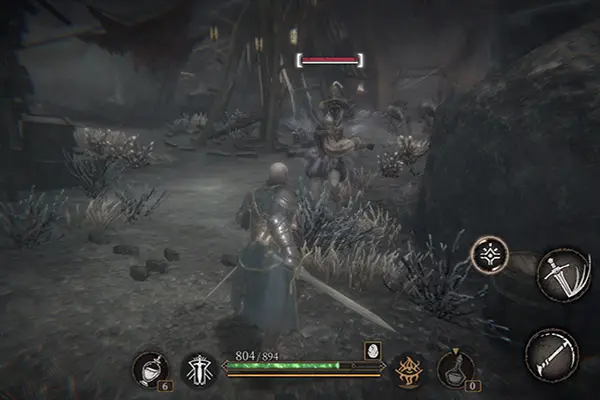
Once you reach firm ground, you’ll see a nobleman and three midwives to your right. I recommend luring the nobleman back towards the water so you can deal with him first. Take out the midwives. Following the path beyond the midwives, enter the cave to the left. Head up the ramp. Take out the lizard marred and kick down the ladder. Climb down, deal with the two lizards and activate the altar to the left. Follow the brazier lit path. When the path splits follow the dead end to the right. There’s a tentacle marred here you’ll need to take down. Afterwards, open the chest the marred was guarding. Then backtrack through the cave—the path to left will take you back to the circular area with the stone tower.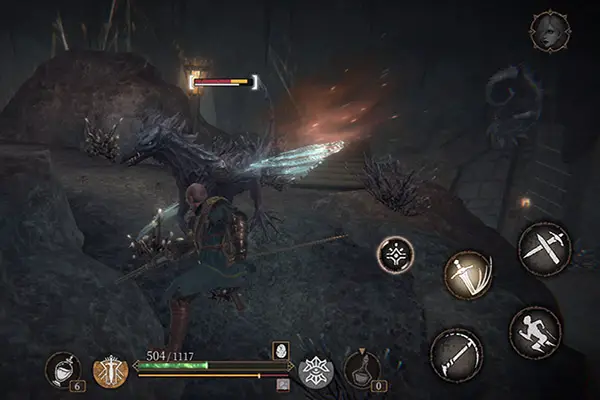
Another Bell, Another Tower
Once out of the cave, head past the pyre and through a stone archway. Take out the noble woman ahead—a mummer will jump down when you approach her. After dealing with them continue forward until you trigger a cutscene.
After the cutscene head towards the tower. Elena is waiting outside and has been injured by the bellman. Enter the tower and activate the lift. Talk to Frollo, the bellman at the top of the tower. Terrance is still unsure who to believe. Frollo claims once the third bell is rung, the truth will be seen. He gives Terrance a key to the back door of the third bell tower.
Open the Village’s Back Door
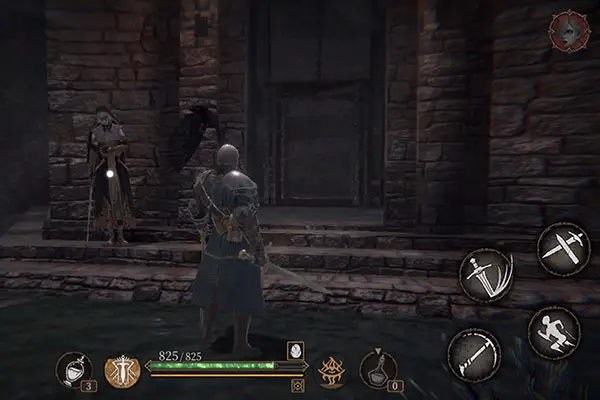
Climb through the hole in the wall and jump down onto the ledge. Buy a greasy candle from the sifler. Follow the path to the left. When you reach the end, jump down onto the rooftop. Kickdown the ladder to the left. Climb down the ladder and head up the stairs and toward the altar. Use the key to open the doors next to the altar. Once through the doors, turn to the right and climb the ladder. Take down the midwife on the roof then climb onto the ledge and follow the path. Around the side of the building, a mage waits. Take him out, then continue forward and climb down the ladder.
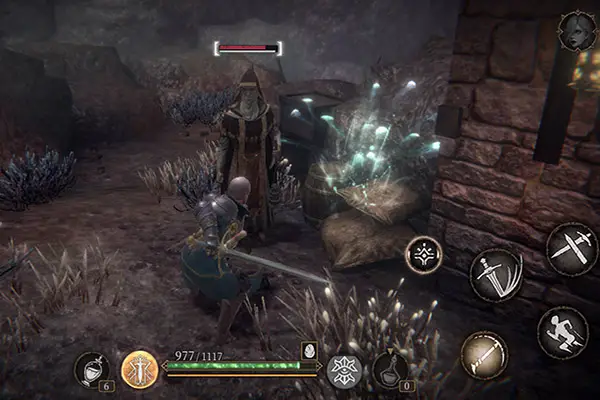
You’ll find yourself on a rooftop with another midwife. After defeating her cross the ramp to the next rooftop. Turn and take the downward sloping ramp to another rooftop. A noble man will jump down from the roof and attack. Take him out and head through the hole in the wall ahead. Climb down the ladder and open the door. Doing so unlocks a shortcut. There’s a lizard marred and a mage just outside. Turn left and speak to the cold old man. Give him the greasy candle. This completes the side quest: Old Man and the Candle. Head back up the ladder and continue through the building and up the ramp to trigger a short cutscene.
Negotiation with Elena
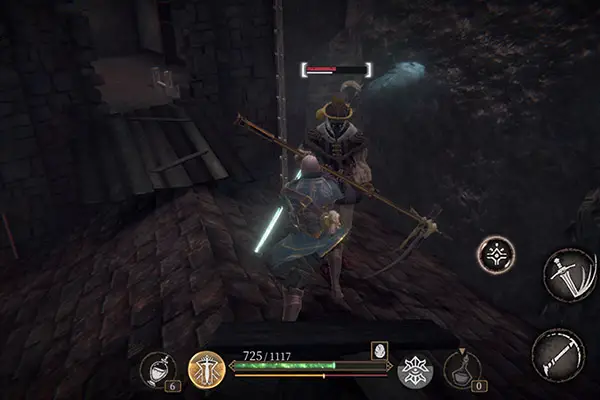
Continue up the path and you’ll run into Elena again. She tells Terrance that Teresa has gone to the Blessedland. If Terrance kills Frollo, Elena will open the gate to the Blessedland for Terrance. Head up the stairs, stopping to take down a mage. Trade with the sifler, if you wish, then activate the altar. From here, continue up the stairs to your left. You’ll run into a mummer here. Take him down and head through the archway. A nobleman will come at you, so deal with him. To your left you’ll see a gate, but it currently cannot be opened. Continue down the path.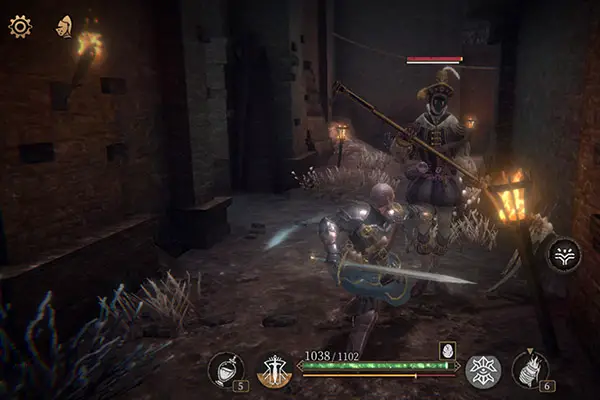
A mummer lies in wait ahead. While you head towards him, a noblewoman on the ledge above will cast spells at you. Once you get close, she’ll jump down. After dealing with both of them, climb the stairs. Follow the path until you reach a staircase leading down. There’s a mummer here you’ll need to take down. Continue and you’ll find yourself on the other side of the closed gate you passed recently. Use the lever to open it.
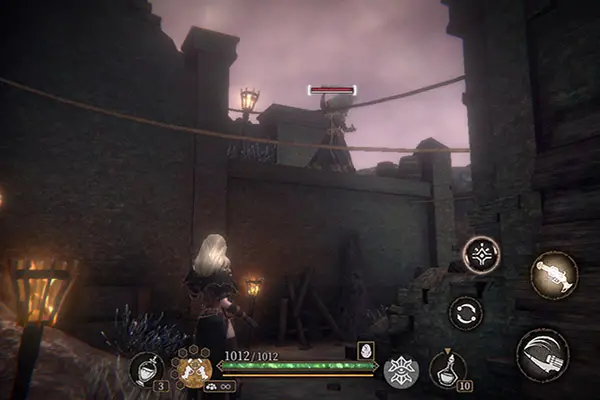
Detour
There’s an easy to miss the pathway just next to the stairs you came down. Follow the path around the building and up the ladder. Your now on the ledge the noblewoman was on across from the stairs you took to open the gate. Open the chest then cross the ramp and follow the path. Walk onto the ledge and jump down into the small, gated area. Open the chest, then use the lever to open the gate. Climb back up. This time instead of jumping into the little room jump down on the other side of the outer wall. A Heggie waits here. Climb the ladder and cross the ledge. Jump down and open the chest. Turn around and jump down onto the ledge below. Jump down onto the rooftop, then to the next roof. Pick up the ancient silver key and jump down to the ground.
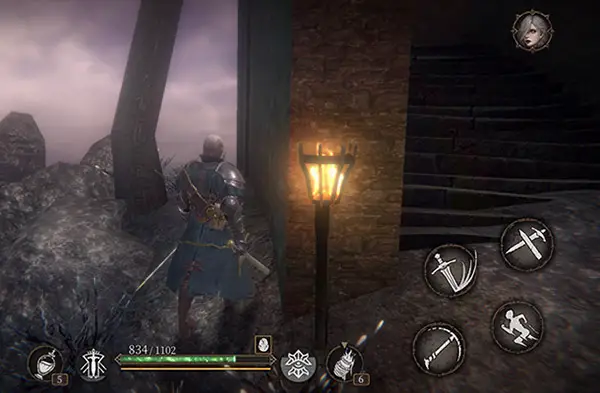
Climb the stairs and make your way back to the gate you opened near the bridge. Cross the bridge; Frollo is waiting on the other side. After talking with Frollo you’ll need to decide who you trust. You can either agree to help Frollo or fight him.
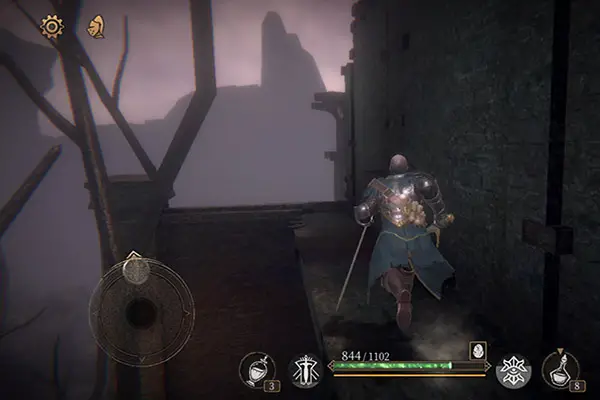
Fight Frollo
If you choose to fight Frollo be sure to have a nice stock of potions and projectiles on hand. Like Norwood’s coffin on a chain, Frollo wields a bell on a chain. He wields a mace in his other hand which he uses to ring the bell. When the bell is rung, you’ll be momentarily stunned. When he’s about to ring his bell, run as far away as possible to get out of range. Frollo also has a spinning jump attack—if you’re too close when he performs this attack you’ll be knocked to the ground. Dodge is your best friend in this fight.
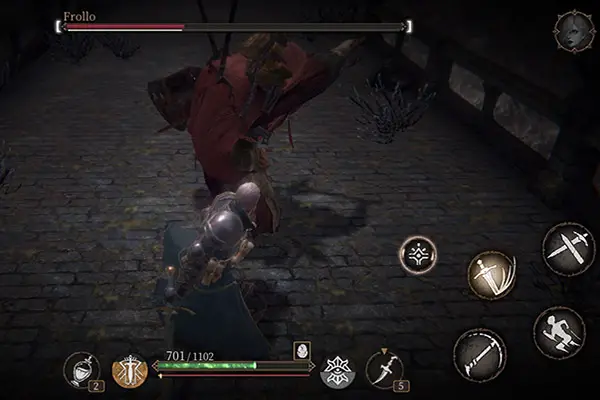
Once you’ve left Frollo in the dust, cross the bridge, head back through the open gate and past the stairs. Once up the stairs, you’ll reach the little gated area we opened earlier and open the door to the courtroom. Speak with Elena. She thanks Terrance for dealing with Frollo, and tells him she’s opened the gate to the Blessedland.
Help Frollo: Take the Gate Key
If you decide to help Frollo, he’ll give Terrance a gate key. Frollo tells Terrance to go to the courtroom to find the key Elena is hiding. Head back across the bridge, up the stairs and through the recently opened gate. Turn right and head past the stairs you climbed to open the gate. You see a gate ahead with a chest behind it, but you can’t open it from this side.
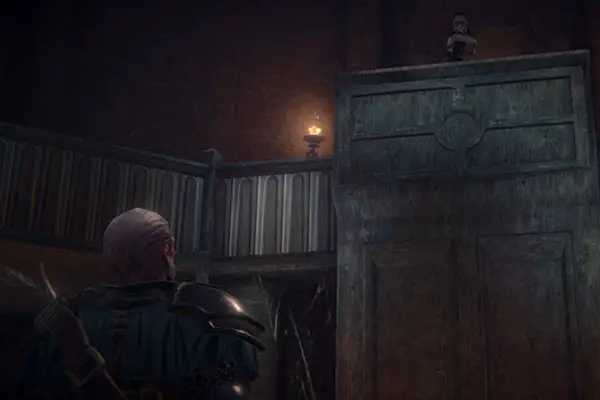
Follow the path to the left, climb the stairs and open the doors. This will trigger a cutscene. Elena is disappointed in Terrance, claiming he’s made the stupidest choice. She reminds him that she said she would destroy anyone who tries to stop the demiurge people from recapturing the light. When the cutscene ends you’ll be attacked by two mummers and a noblewoman. Take out the mummers while dodging the noble woman’s ranged attacks. After defeating them two noblemen will appear. Deal with them, then pick up loot around the room until you retrieve the gate key.
Help Frollo: Bring the Key to Frollo
Return to the tower where you last met Frollo. Careful, since we didn’t take the lift down last time it’s still on the upper floor. Use the lever to call the lift then get in and head up. Speak to Frollo. After Frollo rings the third bell the white dust disperses. Frollo explains that the dust comes from the colossus of Edith and the demiurge combine it with themselves to gain strength at the cost of their sanity. With the dust now dispersed, Frollo offers to open the gate to the Blessedland for Terrance and his companion.
Beat the Newborn Edith
Return to the tower outside of which you chose whether to help or fight Frollo. Take the lift down this time—you’ll need to take it up, down and down again if you chose to fight Frollo. Open the gate and you’ll find yourself back in the cave. Turn right and follow the path lined with lit braziers out of the cave. Head through the archway to your left. Head forward towards the large, closed gate. Speak with Frollo or Elena depending upon who you helped. Either way you learn that Edith has been reborn and that to reach the Blessedlands you must defeat the Colossus of Edith.
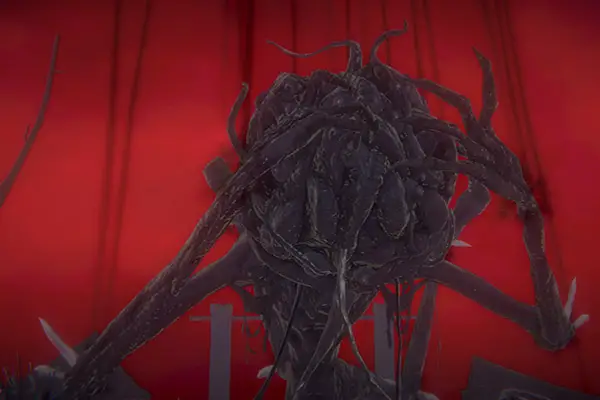
Get ready for a fight. The Colossus of Edith oozes acid so watch where you step! Lock onto one of the creature’s two glowing tentacles. After you destroy both tentacles they will regenerate. You’ll need to keep destroying them until the Colossus of Edith’s health is depleted. The Colossus of Edith sweeps out in wide arcs with its oversized arms and will also slam its arms and its bulbous head down on you if given the chance. When you see the creature rising, dodge out of range.
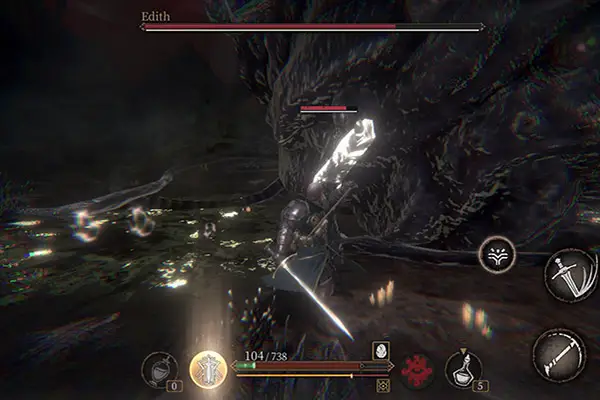
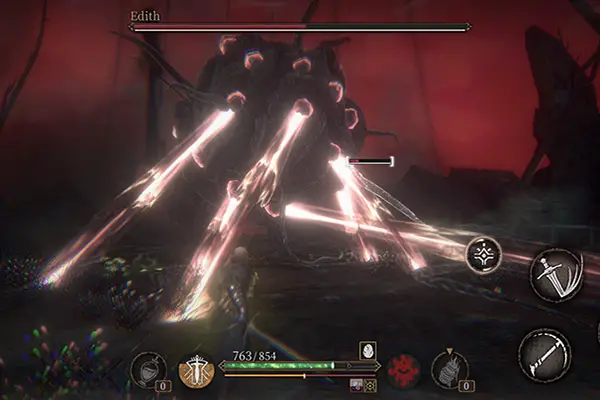
If you hear a slithering noise, move! The Colossus will trap you in vines that grow up from the ground. While this trap last merely seconds it still gives the Colossus plenty of time to deal heavy damage. When the Colossus spits out an orb destroy it before it hatches into an acid spewing insect. If they do hatch, just dodge the bug until it disappears. In lunatic mode the colossus of Edith will shoot lasers in all directions. When you see the Colossus gearing up for a laser attack move away so you can have a better view of where the lasers are going to hit, then dodge accordingly. It will also create laser blasts beneath your feet. When you see pink spots on the ground, dodge away from them. A great way to deal heavy damage is to use execute on the Colossus’s head after destroying both tentacles but do so before they regenerate.
Find Andrew
Once you’ve slain the Colossus of Edith, you’ll be able to find Andrew. Go back to the cave entrance but instead of entering head past it. The path that was once blocked by debris now leads to a beach. Deal with the tentacle marred then climb onto the little plateau and read the large stone plaque. It seems Andrew managed to join the demiurge Militia and has set out for the Blessedland alongside his brothers. There’s another tentacle marred to the right of the plateau. Take it out. You’ll see a Heggie near the water’s edge. Return to the worried mother and tell her what you’ve learned. Now that you’ve completed the side quest: Find Andrew there’s nothing left to do but travel to the Blessedland. Congratulations, you’ve just beat chapter 5 of Pascal’s Wager.
Be sure to also check out our Pascal’s Wager Walkthrough for chapter one, chapter two, chapter three and chapter four as well as part one and part two of our Tips and Tricks Guide to Pascal’s Wager and its expansions.
-
SCORE
-
SCORE 2

