


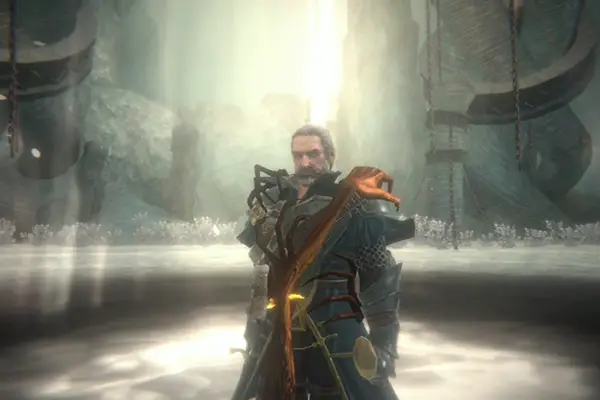
Hardcore Droid’s Pascal’s Wager Chapter 7 Walkthrough
After Viola and Norwood’s shocking betrayal, Terrence and Benita travel to Karst Cave to save Teresa and stop the Colossal Grave from opening. In Karst Cave, Terrence will be pitted against many foes he’s already fought throughout the game, but that doesn’t mean it will be easy. If you find yourself stuck in Karst Cave, Hardcore Droid’s Pascal’s Wager Chapter 7 Walkthrough is for you.
Karst Cave
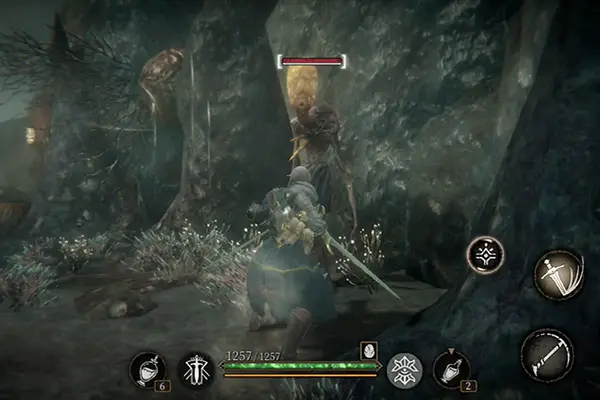
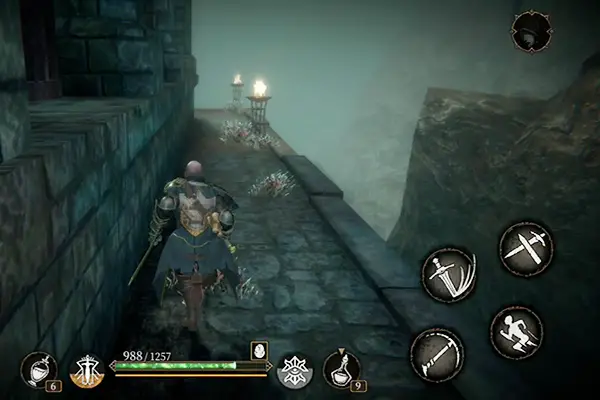
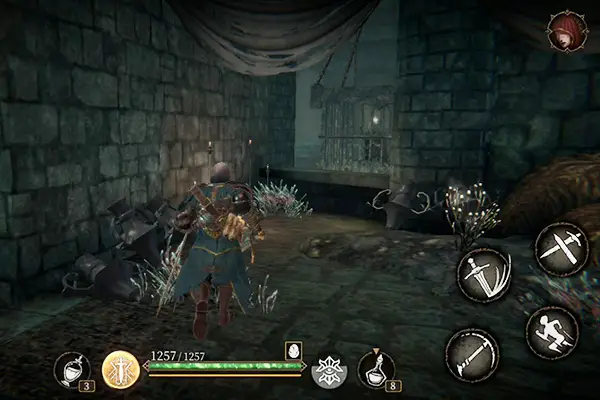
Begin by traveling to Karst Cave. Head down the stairs until you see an opening in the wall. Go through the opening and activate the altar just ahead. Continue down the path until you see a glowing head to your right. These are the same type of creature as Proxy Higgins henchmen. Be careful of these guys—they explode when they die. Glowing heads will also grab you, dealing damage until you’re free. So, watch out. After dealing with the glowing head, go forward to trigger a short cutscene, then take the upward sloping path to your left. There’s another glowing head here. Take him out and then head through the archway.
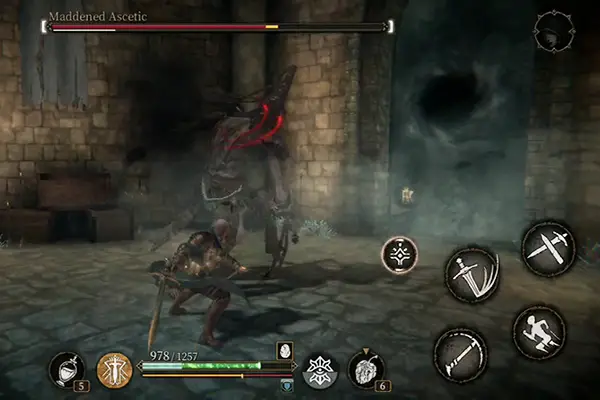
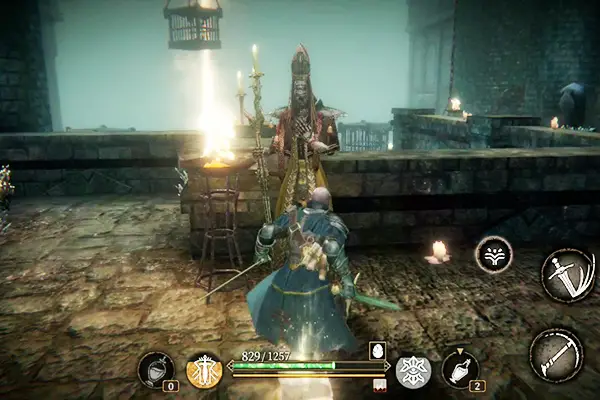
Maddened Ascetic
Once inside, you’ll come face to face with the Maddened Ascetic. When you see him slump his shoulders, put some distance between the two of you because he’s about to unleash a poisonous cloud. It’s fairly easy to anticipate the Maddened Ascetic’s blows because he winds up his arm before striking. Time your attacks and dodge his blows to quickly dispatch him.
After taking out the Maddened Ascetic, head outside and activate the altar near the closed gate, which cannot be opened from this side. So, turn right and head down the path. When the path forks, follow the path to the left. Jump down, then turn right and grab the active symbiote. Jump down and follow the path until it forks. Take the path leading down. Go through the large hole in the wall. You’ll find yourself in a tunnel with jail cells. Four reptilian-marred are busy snacking here. If you’re careful, you can dispatch them one by one without alerting the others.

Leave the tunnel and follow the path to the right. You’ll reach a doorway guarded by a glowing head and a torch-wielding soldier. Take them down. Then go through the doorway, turn left and head up the stairs. Reaching the landing, you’ll hear Viola arguing with Eckhart. Go through the doorway, then follow the ledge around the corner.
Save Viola
After following the ledge, go through another doorway and then head through the open cell door. Quickly cross through the red water—it depletes your health—and get to the ledge on the opposite side. Open Viola’s cell door next to the strange glowing tentacles. Entering the cell triggers a cutscene.
Terrence will enter a sepia-toned dreamlike state. He’ll see an apparition of Viola. Follow the apparition until you find yourself in a giant birdcage. Three apparitions appear and attack you: one sword-wielding soldier, one archer and one javelin-wielding knight. After dispatching them, a cutscene triggers that shows how Viola was manipulated into betraying Terrence. The apparition of Viola appears to be possessed and attacks Terrence. Defeat her with some quick attacks and a few dodges. A cutscene triggers in which Terrence attacks the strange tentacles at the back of the birdcage. Terrence returns to reality as Viola wakes.
Go to the Altar Beneath Karst Cave
Viola informs Terrence that Norwood took Terresa to some ruins below Karst Cave. Leave Viola’s cell and open the door across from it. Turn right and enter the small cell next to you to find a yellow Heggie. This one prefers bone fragments. Turn left and go through the archway. Cross the room and head through a second archway to your left. Take the lift down and head through the doorway. To your right is an altar. Activate it before taking on the luminous lizard marred prowling ahead. After defeating it, continue down the path until you come to a door-sized hole in the wall. Go through it, but beware a glowing head lying in wait to your right. Two more glowing heads will come at you from opposite directions, so be ready to dodge them. Once you’ve taken down the glowing heads, head to the back of the room and go through an opening in the wall to your left.
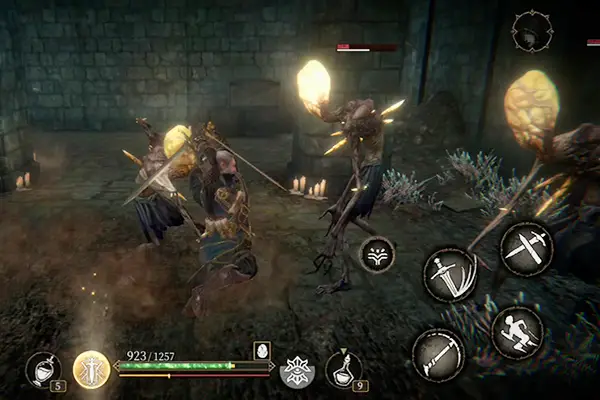
Walk past the cages. You’ll come to an intersection with a locked gate to your left, a path forward and a path to the right that has spikes shooting out of the floor. Turn right. Watch the spikes coming up from the floor so you can time your crossing. Head forward and activate the altar. Then turn around and go through the gap between two cages to your left. You’ll see a large staircase. Hanging from the ceiling, however, are three glowing heads. Use throwing knives or other ranged weapons if you have them. After taking out the glowing heads, climb the stairs.
The Library
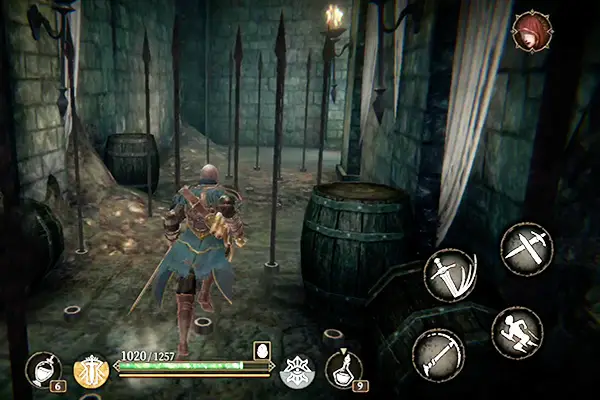
You’ll find yourself in a library. Head between the bookcases and turn right. A torch-wielding soldier will attack. Dispatch him, then continue around the bookshelf. Follow the path through the library until you come face to face with another torch-wielder. Take him out, then turn the corner. There’s a large door here that is currently locked. Continue down the path and deal with the holy man by the stairs. Climb the stairs until you come to a dead end. To your left there is a cage hanging just outside a window. Inside is a man. Speak to him. The man says something is feeding on his soul and he’ll soon be a walking corpse. He asks Terrence to lower his cage so that he may search for his soul. Agree to let him out.
Lower the Cage of the Madman
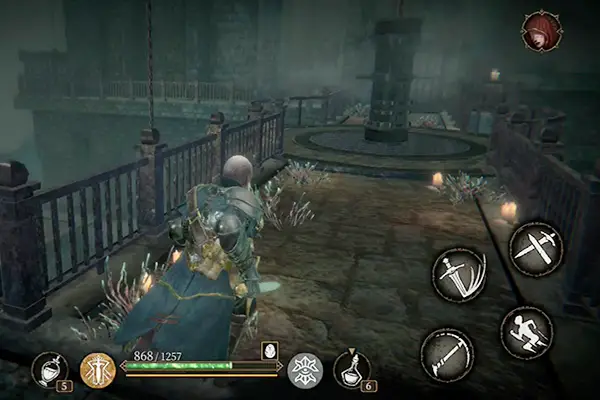
The madman will give you the key to the large double doors you passed earlier. Go back down the stairs and through the doors. Hanging from the ceiling is a wailing knight. Deal with it then go through the opening to your left, up the stairs and down the torch-lit hall. Turn right but be careful. Spike traps line the walls of the next hall. Try to time your crossing to avoid getting impaled. Continue down the path and follow the ledge to your right. Take out the glowing head in the cage if you wish, then finish crossing the ledge. Climb the stairs. Spike traps line the wall here too.
Go through the doorway and you’ll find yourself in another library. Inside is a holy man and two torch-wielders. After defeating them, go through a second doorway and climb yet another set of stairs. Climb the ladder, then use the lever to your right to open the gate and unlock a shortcut. Then turn around and cross the ledge. Round the corner and you’ll see two holy men by a set of stairs. Take them out and then climb the staircase. Turn left and follow the path until you reach a pole with a lever on a bridge. Pull the lever to trigger a cutscene. The madman’s cage lowers.
Open The Cage For the Madman
Finish crossing the bridge and head through the archway. Continue forward and take down the torch-wielding soldier standing in the opening between two cages. Go through the opening and then head through the broken cell bars and turn right to find a yellow Heggie.
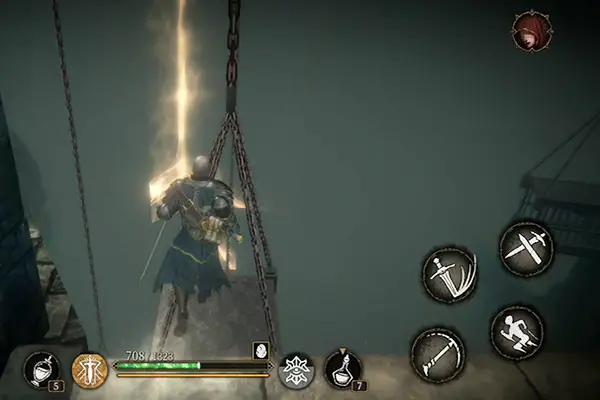
Backtrack to the room where you fought the torch-wielding soldier between the cages. In the back right corner is a ladder. Climb down the ladder. Go through the archway, turn right and follow the ledge. Around the corner is a lever. Pull it to lower a cage. Turn around and head back across the ledge. When you reach the end of the ledge, you’ll see a ladder. Climb down. You’ll land on a balcony. Cross the balcony and jump down onto the cage you just lowered. Turn around and jump onto the ledge below.
Head onto the bridge and dispatch the two glowing heads. Finish crossing the bridge and follow the path until you see a door to your right. Opening it unlocks a shortcut. Across from the door is a ladder that you need to climb down. Go down the stairs. You’ll be attacked by a torch-wielding soldier. Take him out and then go behind the nearby corner pillar to find a blue Heggie. Move towards the center of the room. Another torch-wielder will attack. After dealing with him, take out the holy man. Behind where the holy man stood is a staircase. Climb down and battle a luminous lizard marred and a reptilian marred. Continue forward and down the stairs to trigger a cutscene in which Eckhart slits Viola’s father’s throat and knocks him off a platform before Norwood attacks him from behind and pushes him off as well.
Ask Norwood About the Truth
After the cutscene, turn around and climb the ladder to your right. Cross the ledge, climb down the stairs and take the lift in the left corner. When the lift stops, cross the room and open the door to the right to unlock a shortcut to the altar by the large staircase. Take the lift back down and then climb down the stairs to your left. There is a torch-wielder by one of the pillars ahead. Defeat him and then climb down the ladder between two pillars nearby. Make your way across the ledge, taking out the glowing head as you go. Climb down the stairs and deal with a second glowing head. Then head down the hallway to trigger another cutscene. After the cutscene, speak to Norwood, who is injured. Norwood urges Terrence to save Teresa and explains why he betrayed you.
Follow the ledge around the pool of water and climb down the stairs. When you reach the bottom, climb down the ladder. You’ll find yourself in a hall of prison cells. Turn left. As you walk down the hall, a reptilian marred will jump out at you from a cell to your left without a door. Take it out and then continue down the hall. Shortly you’ll run into another reptilian marred. After defeating it, continue down the tunnel until you reach an archway leading outside. Once you step outside, a cutscene triggers in which Glenn lets you know your contract will be complete once Terrence enters the Colossal Grave. Follow the path, activating the altar when you come to it. Continue down the ramp. When you reach the bottom, a cutscene begins after which the boss battle against Usurper takes place.
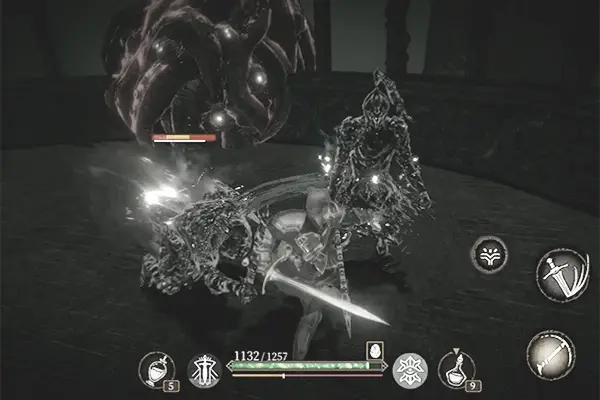
Usurper
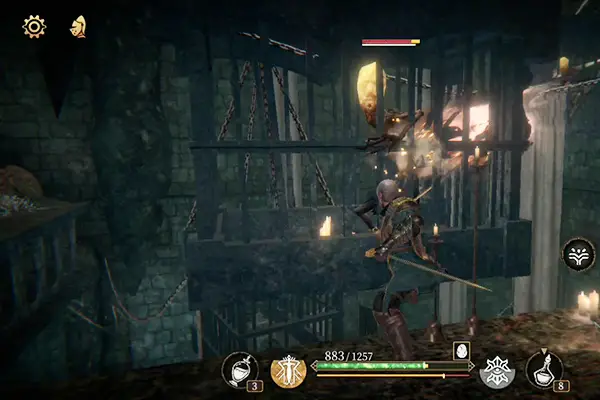
Usurper is a strange abomination with two heads. It appears when Eckhart and Viola’s father merged into one marred being after they fell off the platform in an earlier cutscene. Usurper brandishes a great sword and is capable of a speedy spin attack. He also jumps in the air and lands, stabbing his sword into the ground. When you see him jump, make sure you dodge out of range so you aren’t knocked down.
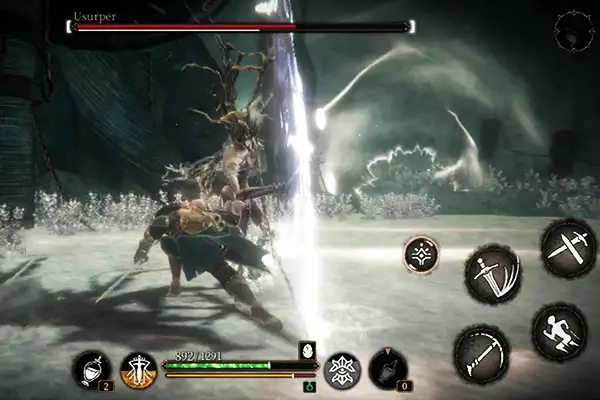
Study his movements. Usurper holds his blade level with his knees as he bends them just before launching into a spin attack. When he raises his blade, he’s about to launch a triple attack. Your best bet is to dodge his attacks, then run up and attack him as soon as he’s stopped. He’ll be vulnerable for a moment after his jump and spin attacks. Once Usurper has been defeated, Viola’s father apologizes to her and asks her to shoot him. Suddenly Teresa appears.

She tells Terrence that her mission is complete and this is the last time they will meet. Teresa claims she is not of this world and asks Terrence to forget her. Then she is dragged into the Colossal Grave. Norwood gives Terrence the scarlet Meteor of Exilium so he can follow Teresa. Stock up on potions and other equipment. When you’re ready, enter the Colossal Grave. Congratulations. You’ve just completed chapter 7 of Pascal’s Wager.
Be sure to also check out our Pascal’s Wager Walkthrough for chapter one, chapter two, chapter three, chapter four, chapter five and chapter six as well as part one and part two of our Tips and Tricks Guide to Pascal’s Wager and its expansions.