


Hardcore Droid’s Pascal’s Wager Chapter Three Walkthrough
Pascal’s Wager is no simple hack and slash game. It’s an action RPG that requires strategy and a healthy dose of trial and error to complete. If you’re having trouble defeating the marred of Exilium, our Pascal’s Wager chapter three walkthrough is here to help.
Go to the Chapel
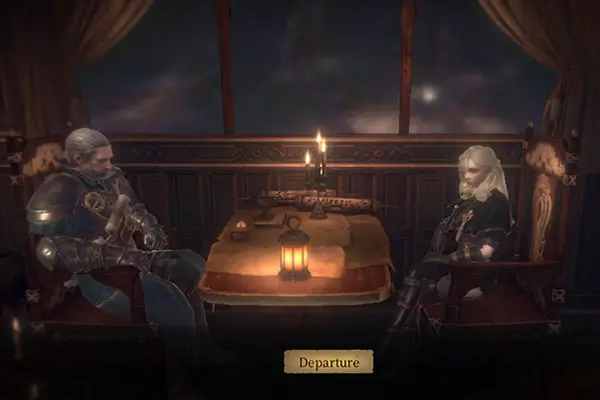
After the events of chapter two, you’ll be able to play as Viola. Viola’s is equipped with a gun known as Firelock. For her melee attack, she stabs enemies with the bayonet of Firelock. While playing as Viola, players can switch between ordinary bullets, shock bullets, and bleed bullets. Shooting enemies up close deals greater damage than attacking from a distance. Before departing for Exilium you’ll need to choose whether you want to bring Viola or Norwood as your second playable character.
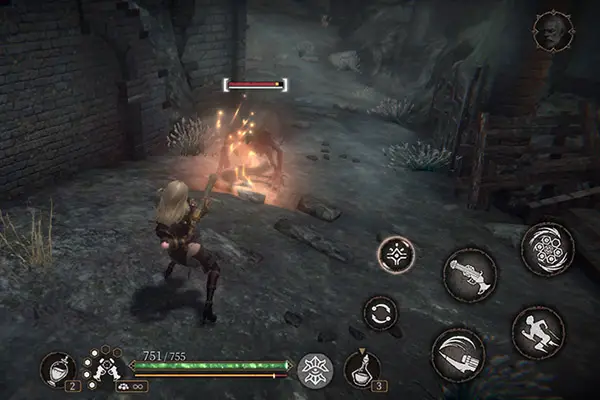
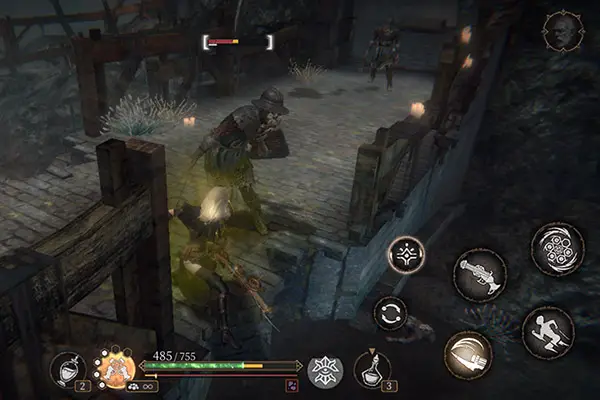
After arriving in Exilium move to the right of the columns and look at the corpse of the church guard then continue forward through the pillars. A cutscene will trigger in which Terrance and Viola—or Norwood depending on who you chose to bring along—decide to head to the chapel. After the cutscene, activate the altar to your left, directly across from the closed gate. Continue forward until you see a closed gate atop a small set of stairs to your right. You’ll be attacked by a marred creature that resembles a large black lizard. The lizard marred will swipe at you with their claws and are also capable of curling into a ball and rolling quickly towards you. Take it out and continue forward down the path.
Headless Knight
You’ll soon be attacked by a soldier marred. Head forward you’ll see a man impaled against a slanted wall to your left. Ignore him and take out the archer soldier on the path to the left above the one you entered from. Then turn back and talk to the impaled headless man.

The man informs Terrance that he is a church knight and that on his wedding night his bride decapitated him, pierced his heart, and nailed him to the stone wall. The headless knight claims he is cursed and that his fiancé took his head and went off in search of a cure. He asks Terrance to retrieve his lost wedding ring from the chapel. This starts the side quest: Headless Knight.
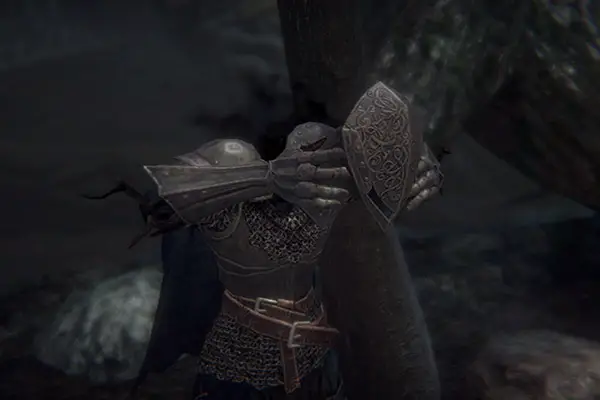
Head up the path to the left where you took out the archer. Pass through the corridor. Ahead you’ll see a bridge where two marred soldiers are waiting. Be sure to utilize dodge as the soldier at the end of the bridge will shoot poisoned arrows at you as you fight the marred soldier closest to you. After killing the two marred, enter the chamber at the end of the bridge—be ready to dodge the fully armored knight who’s waiting to strike you from the left. You’ll see a ladder leading down and a path back outside to your left.
Journey On
Climb down the ladder and defeat the marred soldier to your left. Follow the path to the left and use the lever to open the gate across from the altar. Head back into the hall and take the path across from the ladder. Once outside you’ll face an ax-wielding knight, like the one you faced in chapter one. After defeating him cross the slightly submerged bridge. Cross the small area of land and cross a second submerged bridge. Halfway across the bridge, you’ll face another lizard marred. Kill him and then finish crossing the bridge. Once back on solid ground you’ll face a javelin wielding knight. After taking out the knight move towards the far edge of the platform killing two lizard marred along the way. Trade with the sifler if you need supplies then open the chest behind him.

Turn around and head up the ramp to your right. Kill the lizard marred in front of you then continue up the path. Take out the archer and jump down onto the large branch at the end of the path. Cross the branch and step onto the tower ledge.
The Graveyard
Climb down the ladder and follow the downward-sloping path. Kill the marred soldier ahead of you and continue to the end of the path to find a Heggie. Turn around and head to the top of the path to collect two bone whistles then head back up the ladder. From the tower ledge, take the path to your left and abruptly climb up the path to your right to reach a chest atop the tower. Turn around and continue down the path until you reach a graveyard. At the edge of the graveyard, you’ll find a lizard marred. Kill it then head through the archway at the back of the graveyard to trigger a short cutscene.

After the cutscene head through the archway. You’ll see a door, but it cannot be opened from this side. Turn to your left and continue forward. Take out the lizard marred then take the path to your right, next to the chapel. Turn the corner and you’ll find an altar. Activate it. Use the lever to your left to lower the bridge. Jump down onto the ledge to the left of the bridge and open the chest. Turn around and continue up the branch path. Jump down onto the branch below, then jump onto the ledge of the chapel. Enter through the open window and jump down to the ledge.
Enter the Chapel
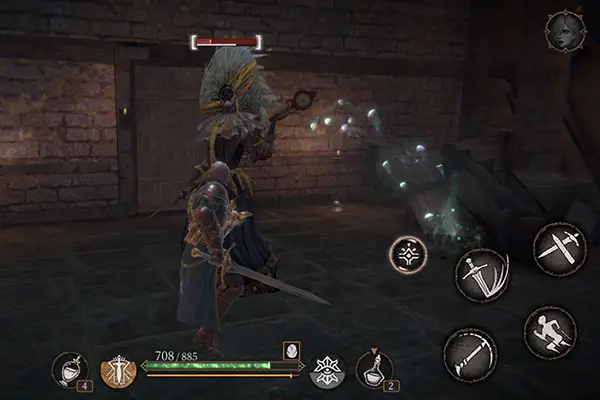
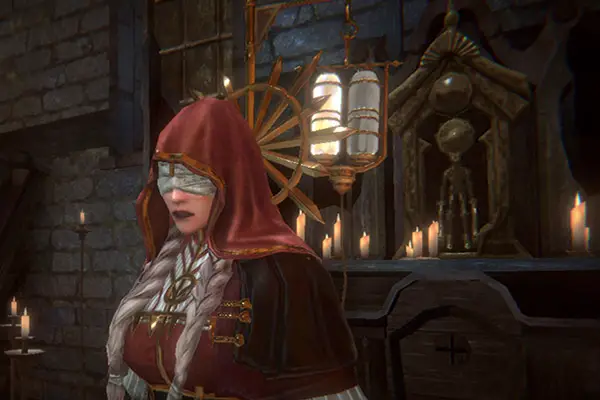
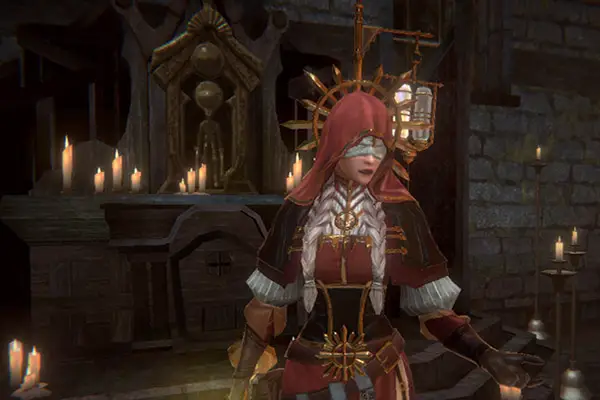
Turn left and continue around the ledge until you reach the ladder. Climb down. Take a step forward and a cutscene will trigger. Terrance finds Benita—a blind nun who happens to be an old friend of Terrance. While they are talking, the two of them are attacked by a marred noblewoman. Besides a standard melee attack, the noblewomen cast fireballs at you and will sometimes set off a small explosion around themselves when you’re near. However, with the help of Benita, the noblewoman goes down quite easily.
After you’ve dealt with the noblewoman, Benita informs Terrance that Teresa was sentenced to death by the church. Benita is now blind because she offered her eyes to the church in exchange for banishing Tereasa rather than killing her. It turns out there was a scarlet meteor that weakens the sendril. Benita charges Terrance with finding fragments of the scarlet meteor.
Return The Wedding Ring
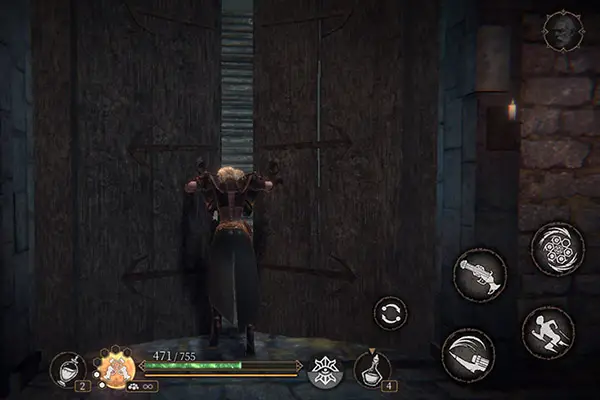
After the cutscene, go to your left and talk to the man in the confessional. He thanks you for killing the marred in the chapel and rewards you with the wedding ring. The man asks Terrance if it’s safe to come out. No matter how Terrance replies, however, the man stays in the confessional. Take a moment to open all the doors to the church since they can only be opened from the inside. Leave through the doors near the ladder and cross the bridge. Speak to the headless knight. Return his ring and he will free himself from the wall.
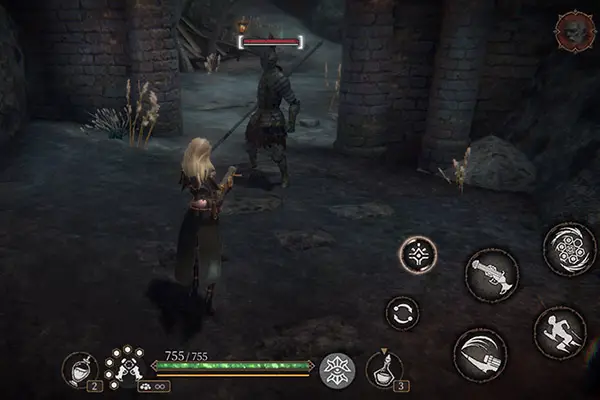
Return to the chapel and head out through the door across from the church altar. Take out the marred archer and marred soldier ahead of you and continue forward. Defeat the javelin wielding knight and turn right to take out the marred archer on the ledge. Open the chest just above where the archer was, then continue along the main path, take down the ax-wielding knight, and backtrack to the lit brazier. Quickly cross the bridge and kill the archer. There’s a second archer further along the bridge. As you approach it, a soldier will climb out of the water and attack you. Take them out. Continue forward and kill the javelin wielding knight standing between two pillars. Start up the ramp and take down the noblewoman marred. Continue up the path. There’s a lizard marred here you’ll need to dispatch. After defeating it, follow the path and enter the archway.
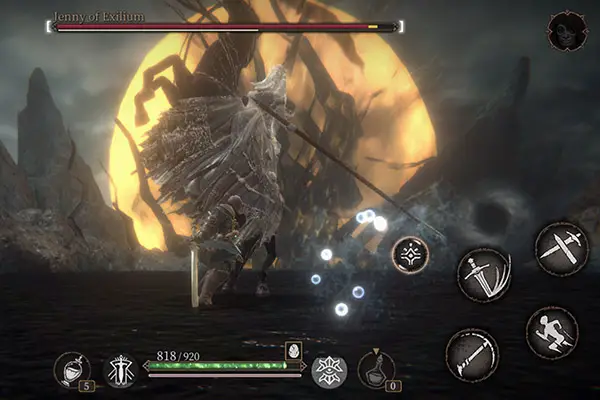
Jenny of Exilium
You’ll find yourself in a room with a javelin wielding knight and spikes that shoot up out of the floor. Kill the knight and head outside and up the stone steps. Climb the ladder and activate the altar. Continue past the altar until you reach what at first appears to be a dead end. Turn towards the water and you’ll notice a figure in the distance. Step out onto the water to activate a short cutscene, after which you’ll have to fight the headless knight’s love, Jenny of Exilium

Fighting on horseback, Jenny of Exilium is a formidable foe. Jenny wields a halberd—her melee attacks have a wide range, so dodging is key. Jenny’s horse allows her to move swiftly out of range of melee attacks. When her horse rears up on its hind legs quickly dodge to the side as this means it’s about to unleash a stomp attack. After the stomp attack, Jenny will be momentarily vulnerable hit her with a few attacks. When Jenny holds her halberd vertically above her, she is about to shoot a bolt of ice at you. These bolts are easy to dodge. In lunatic mode, she takes to the sky and unleashes a trio of tornadoes to deal massive damage. She will also unleash stronger ice attacks.
End the Curse
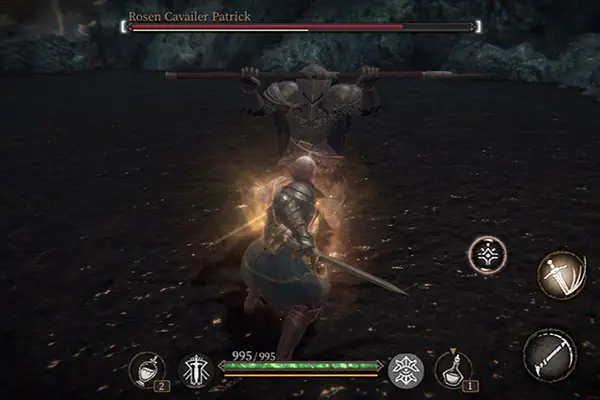
After you defeat Jenny of Exilium, move forward towards the Colossus orb and retrieve the knights head and Jenny’s ring. You’ll also receive a scarlet meteor fragment. Head to the right of the orb and climb onto the rock where you’ll see a Heggie. Return to the headless knight and give him back his head. When he asks about his fiancé, Terrance will tell the knight that she has been contaminated by sendrils and he was forced to kill her. The knight asks Terrance to duel him in the same place where you just fought Jenny.
Return to where you fought Jenny of Exilium and step towards the knight. He will rush forward and attack you. The knight brandishes a spear which he’ll swing in a circular motion. He can evade your attacks by jumping quickly backward. The knight will also attempt to stab you. Typically, he will stab several times in the same direction so dodge to the side and attack while he is vulnerable. Killing the knight breaks the curse and wraps up the Headless Knight side quest. After defeating the knight pick up his ring.
Return to the Chapel
Now that you’ve laid the knight to rest, return to the chapel. Speak with Benita inside the chapel. Benita learns that the scarlet meteor fragment is the key to opening the Colossal Grave. Terrance deduces that Teresa wants to open the Colossal Grave and will likely travel to Katib where the entrance is rumored to be. At this point, Benita chooses to join your party. Benita fights with a weapon called Monstrance which is similar to a whip with a sharp metal object on the end. Using the Monstrance consumes Benita’s health and converts it into Pure Blood which she uses to perform combat skills.
Ring the bell near the start of the level to return to the carriage. A cutscene will trigger after which you take control of Terrance, who appears to be within the dark mist. After attacking a few creatures another cutscene will trigger. Teresa will show up and call Terrance a liar before turning into an orb of light. Follow the orb. As you follow the orb more cutscenes will trigger. Just continue to follow the orb. After a final cutscene, Terrance will awaken in the carriage. Tap on the map and travel to Katib. This completes chapter three.
Be sure to check out our Pascal’s Wager Walkthrough for chapter one, chapter two, chapter four and chapter five as well as our awesome review. While you’re at it, look over part one and part two of our Tips and Tricks Guide to Pascal’s Wager and its expansions.