


Welcome To Our Pascal’s Wager Chapter Four Walkthrough
Chapter three of Pascal’s Wager saw Terrance and company travel to Exilium, where they fought Jenny of Exilium and retrieved a fragment of the scarlet meteor. Benita, a blind nun who is friends with Terrance, explains that the scarlet meteor fragment may be the key to opening the Colossal Grave. Now that we’re all caught up, let’s dive into our Pascal’s Wager chapter four walkthrough.
Welcome to Katib
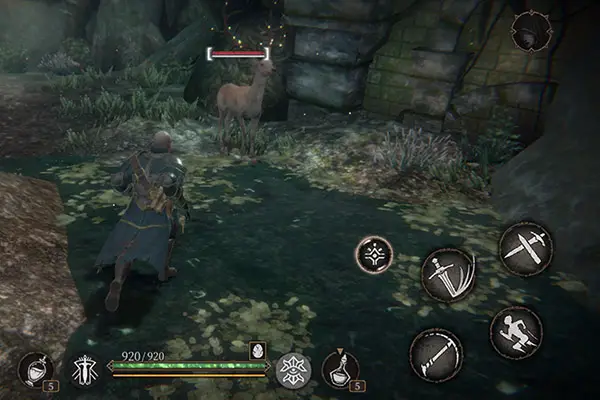
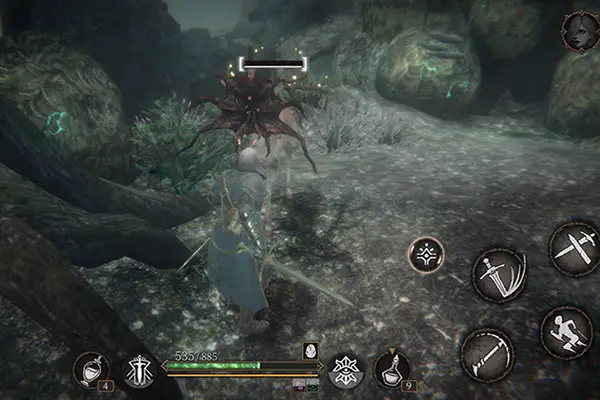
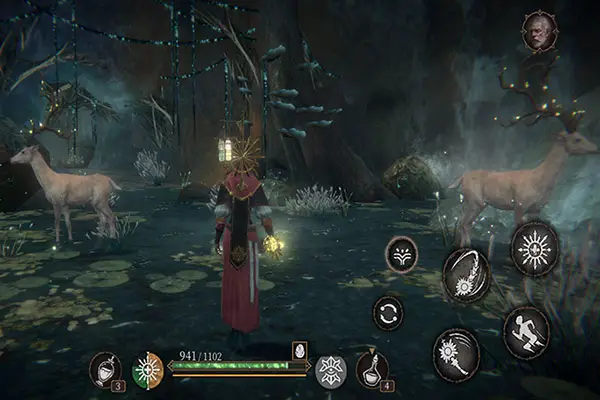
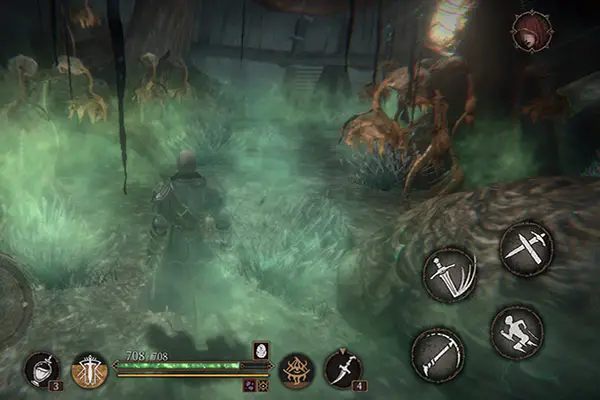
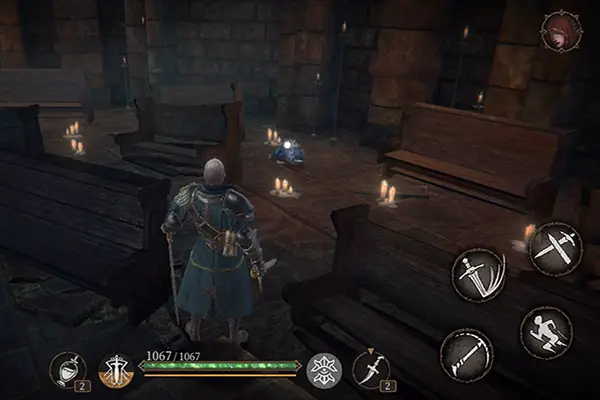
Travel to the forest of Katib and follow the path until you reach the first altar—activate it, then take the path to your right. Continue forward until you see a broken bridge in front of you. Turn to the right and head between the two trees. Take a few steps and you’ll encounter your first Soul Inductor—a creature resembling a deer with glowing lights in its antlers. Soul Inductors will not initiate an attack, but that doesn’t mean they’re the harmless creatures they appear to be. When attacked, Soul Inductor’s face transforms into something akin to the Demogorgon from Stranger Things, and it will attempt to stomp you with its front legs.
After killing the Soul Inductor, continue down the path. As you walk around a large tree root, you’ll see another Soul Inductor to your left. Take it down, then jump down from the ledge the Soul Inductor was looking out over when you first approached it. Climb the ramp and take out the Soul Inductor before you. Follow the path to your left until a cutscene triggers.
The Wandering Courier
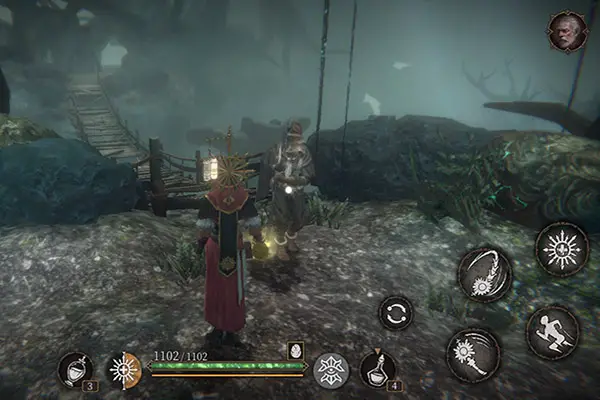
A strange man asks Terrance if he has been recruited by the overseer. He claims he is a courier named Drake and asks if Terrance has seen his missing sandglass. Apparently, he was sent to search for the Seal of Yekub beneath the sacred tower. Unfortunately, the area is cursed, and you will turn into a marred if you linger after the hourglass runs out. Cue side quest: The Wandering Courier.
Continue past Drake, onto the wooden ramp, and climb down the ladder. Cross the bridge where you’ll be attacked by a Soul Inductor. Kill it and head over to the altar. Activate it then head up the ladder to your left and pick up the immundus then climb back down. Walk over to the ledge and head down the other ladder. Ignore the two Soul Inductors nearby and instead focus on the aggressive Soul Inductor to the left. If you go after the two nearby Soul Inductors first, the aggressive one will join the fray making for a much more arduous battle. Take out the two Soul Inductors if you wish, then continue down the path.
You’ll come across two more Soul Inductors standing between a cave entrance and a waterfall. Take them out, walk over to the waterfall, and pick up the potion of wealth. Directly to your left, you’ll see a Heggie next to a boulder. Backtrack to where you took out the last two Soul Inductors and enter the cavern.
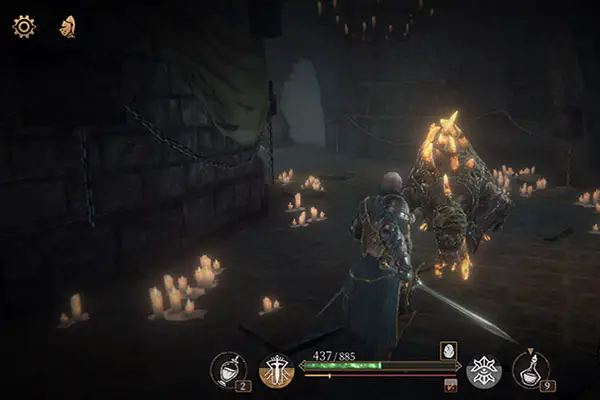
Wailing Knights
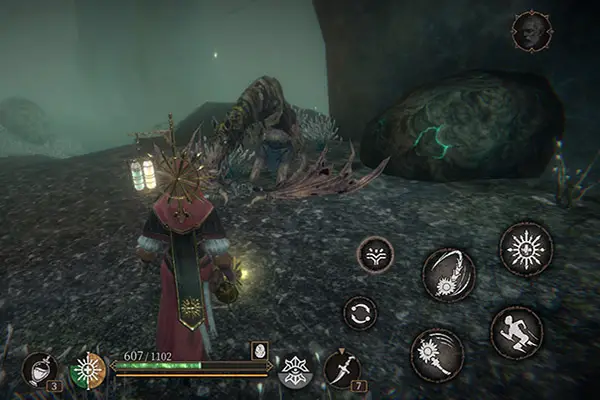
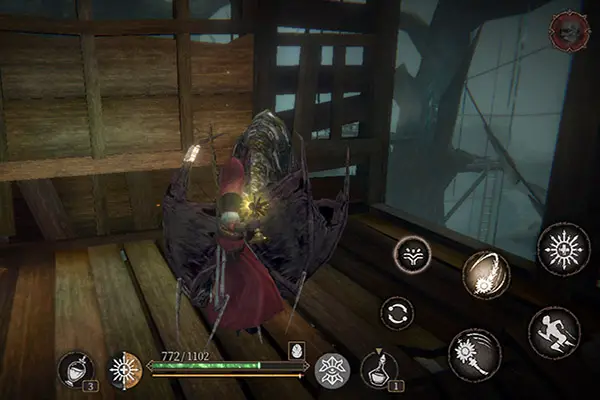
Hanging from the cavern ceiling, near the dilapidated stone tower, is a hideous wailing knight. Wailing knights appear to be part horse and part bat. They are also armed, holding their blade between their wings. When under attack, wailing knights will draw their wings up in front of them like a shield. Knock it down with a throwing knife, then finish it off. There is a path to your left and a branch to cross to your right. Crossing the branch leads to a gate which you cannot be open from this side, so ignore this path for now.
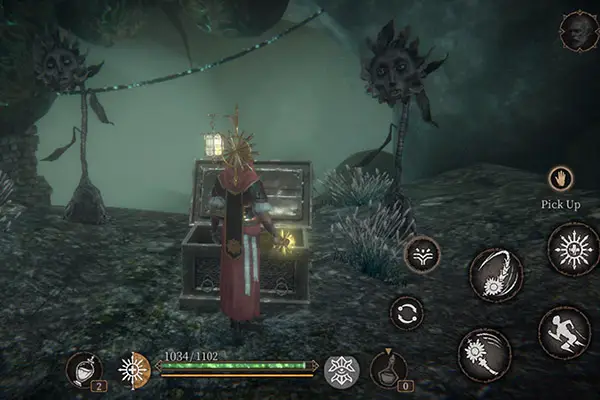
Take the path to your left, and you’ll quickly come across two wailing knights—one of which jumps down from the ceiling. After taking them out, continue up the path until you enter an area with a chest. Just behind the chest is a sunflower marred. Sunflower marred can easily be killed in one or two hits. Open the chest and collect the stone of the past from inside it—you’ll need this later on. Two more sunflower marred will sprout up behind the chest, hitting you with a light beam that slows your movement as well as slowly drains your health and sanity. Cut them down, then continue up the ramp to the right.
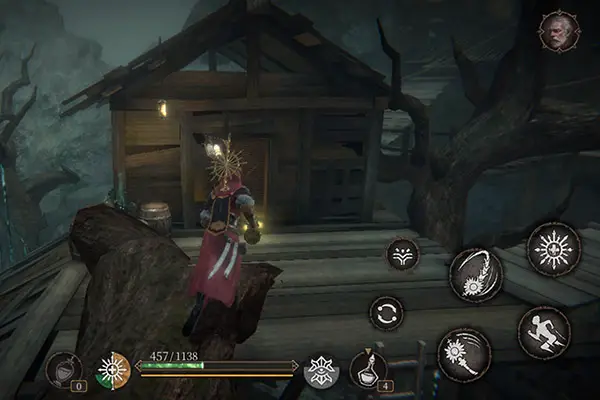
You’ll come across a house, in front of which you’ll be attacked by a miner marred creature we haven’t seen since chapter one. After you kill it, continue down the path which takes you straight through a run-down building. Climb the ladder, then head down the small ramp between the two lit braziers. To your right is an altar. Activate it and rest if you need to.
Find the Past, Present, and Future
Follow the path to your left—a large tree will quickly divide the path in two. Take the path to your right and cross the shallow water. Here you’ll find a wailing knight. Kill it, then head towards the edge of the waterfall and take out the aggressive Soul Inductor. Pick up the immundus resting at the waterfall’s edge, then turn around. Continue past the tree and you’ll soon be attacked by another wailing knight, which you will need to dispatch of.

Watch out as you proceed, as a marred will pummel you with poison arrows from above. Dodge the arrows and take on another wailing knight. Then continue down the path. You’ll see a path to your left covered in an ominous green fog. Step towards it to trigger a cutscene.
A talking sunflower, who was once human, tells Terrance that the green mist ahead is a trick laid out by the Marcions. The Marcions believe that only by experiencing the past, present and future can one find the truth. To pass through the strange mist, Terrance learns he must first find the past, present and future according to Marcion beliefs.

When the cutscene ends, open the chest next to the talking sunflower—inside it you’ll find the stone of the present. Don’t head through the mist just yet. Instead, walk back past the talking sunflower and head forward into the swamp town.
Journey On
You’ll see a slanted building to your right, inside which a miner marred lies in wait. Take it out and continue past the building. Two sunflower marred will sprout, one on each side of you. Deal with them, then head between the large roots next to the building and pick up the raw stone. Head back to the main path. On your right, you’ll see two lizard marred and a luminous lizard marred. Besides attacking with vicious swipes of its claws, this fiery marred can launch projectiles at you from the spikes on its back. Attack then dodge out of reach of its claws. When it launches projectiles, dodge forward and swiftly attack. After taking them out, open the chest they were guarding. Return to the building with the ladder and climb up.
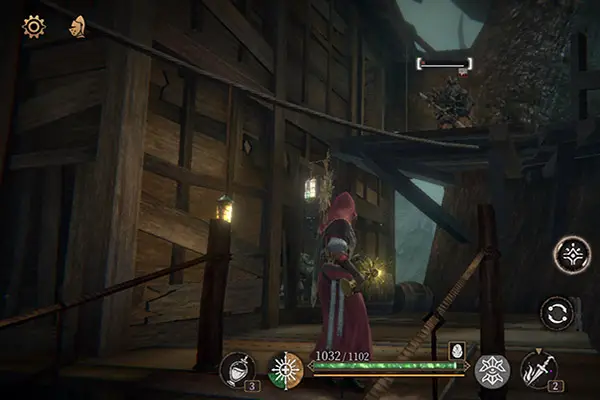
Ahead of you, looking over the corner of the rooftop, is a miner marred archer. Swiftly take it out. If you are stocked up on throwing knives, lock onto the archer on the rooftop to your right and take him out as well. Cross the bridge, being careful to void poison arrows if you weren’t equipped to take out the second archer.
Take out the miner marred in the shack to your left and climb the ladder. There’s another marred here. Take it out and start down the ramp. A miner marred who was hanging from the ramp will climb up and attack you. Continue down the ramp and cross the platform encircling a tree and jump down onto the hay pile. Go straight, kill the sunflower marred and open the chest. Head up the ramp. Cross the branch and jump down onto the platform. Take out a miner marred, then take out the miner marred archer on the rooftop to your left if you didn’t take it down with throwing knives earlier.
Finding the Future
Kick down the ladder to your right, then cross the zig-zagging ramp. You’ll be attacked by a miner marred here. After dealing with it, climb the ramp and take out the wailing knight. Jump down through the opening to your right. Lock onto the marred on the ledge below and jump down holding down the heavy or light attack button. Take it out, jump down to the next ledge and turn to your right. You’ll find a sifler selling some useful items here.
Turn around, cross the bridge and take out the two miner marred on the platform before climbing the ladder. Around the corner, you’ll see a miner marred on a broken bridge. Take it out, then jump down to the bridge below and take down the axe-wielding knight. Cross the bridge to where a marred archer stands on a ledge above you. Take him out, then enter the building to your left and dispatch of the two marred inside. Climb the ladder and open the chest to your right to obtain the stone of the future. Step through the doorway and follow the path. Jump down onto a ledge, then jump to the next ledge and follow the path down. Jump down once more and kick down the ladder. Climb down. You’ll find yourself near the top of the waterfall. Return to the talking sunflower.
Speak with the sunflower and give him the stones you’ve found. The sunflower will perform a ritual, turning the three stones into the Marcion Puzzle Box. Equip it under the trophy menu. You can now pass through the ominous mist. Travel forward through the mist and up the ramp to the left. A cutscene will trigger.
Enter Jerold
After the cutscene, cross the room and speak to the man. The man calls himself Jerold and warns you not to enter the sacred tower. Continue through the doorway and down the stairs. Head forward across the shallow water. You’ll reach a patch of land with a bell. Ring it if you wish to return to the carriage to switch companions or stock up on gear.
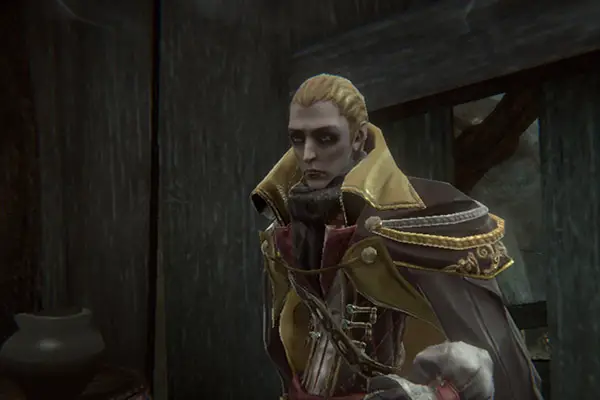
From the bell, take the path to your left. After taking a few steps, a brief cutscene will trigger. You’ll then run into Drake who will ask if you’ve found his sandglass. Say no and he will assume you’ve found it and wish to keep it for yourself. Drake will say he hopes you reconsider but will not attack. Walk over to the altar to the left of Drake and activate it.
The Sacred Tower
Head forward and open the doors to the sacred tower. Immediately to your right is another altar. To your left is a sifler. A soldier wielding unlit torches patrols the area ahead. If given the chance, he’ll ignite his torches and blast you with a wall of fire, so take him out quick. Follow the path to the right until you come to an archway. Head through it and use the elevator. When leaving the lift, you’ll see a gate to your left behind which there is a luminous lizard marred.
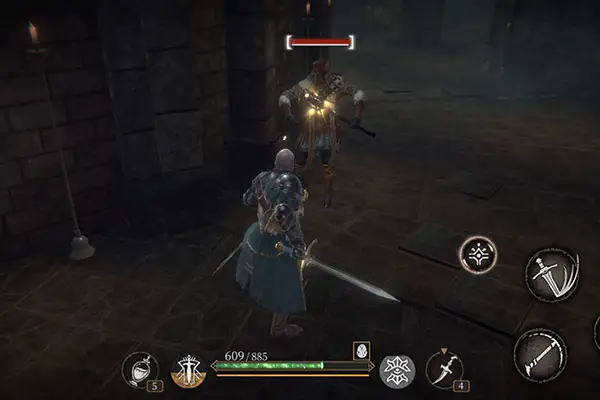
The gate however doesn’t open from this side, so ignore it and climb up the stairs. You’ll come across two soldiers here in close proximity. After you have dealt with them, continue up the stairs until you reach a landing with an open door to the left. Head through the door and turn left. Lock onto the soldier on a ledge above and hit him with a throwing knife. He’ll attack you with arrows once he’s spotted you, so take him down fast. Continue forward, dispatch of a soldier waiting in the room ahead and climb the ladder.
Head forward and take out the javelin wielding knight, then head through the archway on your left. There’s a torch-wielding soldier on the stairs above you who will run down and attack you when he spots you. Deal with him, then continue up the stairs. Activate the altar ahead. Follow the ledge next to the tower until it ends, then jump down to the ledge below. Cross the ledge and jump down to the ledge to your right. Jump down to the ground and head down the path to the left.
Go to the top of the Sacred Tower
Head through the archway. Follow the path to the left and head through the doorway. Jump down onto the ledge below and climb down the ladder. Trade with the sifler here if you wish, then open the chest. Climb back up the ladder, head down the ramp to your left and jump down. Cross the platform, passing by the open doorway to the disused library, climb down the ladder and continue through the archway.
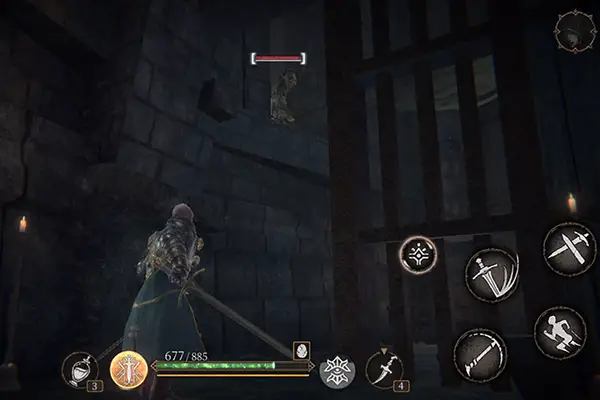
Continue forward. You’ll soon come across the luminous lizard marred you saw through a gate earlier. After you have defeated the luminous monster marred, open the chest in the corner, then use the lever to open the gate. Turn around and jump down to the ledge below. Take out the archer ahead, then climb down the ladder. As you approach the chest, a soldier will jump down and attack you. Take him out, then open the chest. Turn around and climb down the ladder. Open the chest to your right, then use the lever to open the gate.
Climb back up the ladders and head up the ramp into the disused library. Deal with the two soldiers here—the one to your left is an archer. After taking them out, go to the right side of the room and climb down the ladder. There’ll be an archer on either side of you. Deal with them, then head through the archway and down the ramp. Jump down two ledges and take out the archer on the ledge, then climb down the ladder. Head forward and you’ll come across a torch wielding soldier and an archer. Defeat them and open the chest.
Fresh Air
Turn around and climb back up the ladder. Open the door behind you, which will lead you outside. Take down the soldier, continue forward and climb down the ladder. Cross the bridge and take out the miner marred in the building ahead, then kick down the ladder. Walk around the ledge to the back of the building to find an ancient silver key. Head back across the bridge, down the ramp around the tree and down the ladder into the dungeon.
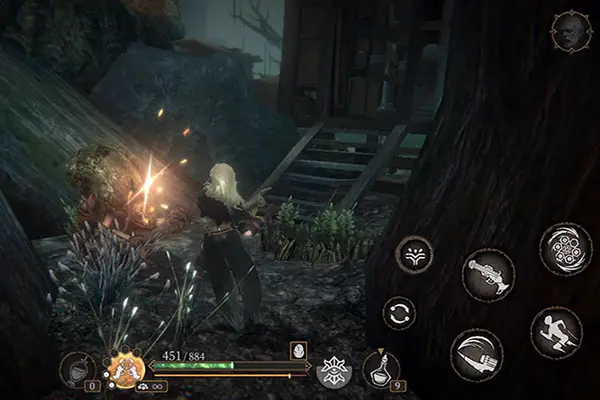
Take out the soldier and archer ahead. Start across the bridge, then jump down through the broken wall to your left. Turn left and open the gate to unlock a shortcut through the cavern. Defeat the soldier, turn around and head up the ramp. Jump down, turn around and cross the bridge. There’s another soldier towards the end of the bridge. Take him out, then continue. As you cross through the next room, five sunflower marred will sprout. Take them out them open the chest. Inside, you’ll find Drake’s sandglass. If you beat the Fused Sprenger in the tower before obtaining the sandglass, the game will glitch and the sandglass won’t be in the chest. Return to Drake and give him the sandglass. This completes the side quest: The Wandering Courier.
Investigate the Altar
Head back inside the sacred tower, cross the ledge where the archer was and climb the ladder. When you reach the ledge, a soldier will climb up and attack you. Take him out, then jump down through the hole in the wall. You’ll find yourself back in the room with the broken chandeliers. Climb the ladder to return to the disused library, this time taking the ladder up. Head through the hole in the wall and climb up the ladder. You’ll face a javelin wielding knight here. Walk into the next room and climb yet another ladder. Follow the path until you find yourself on the other side of the gate, near the top of the tower. Open the gate, then turn and climb the stairs.
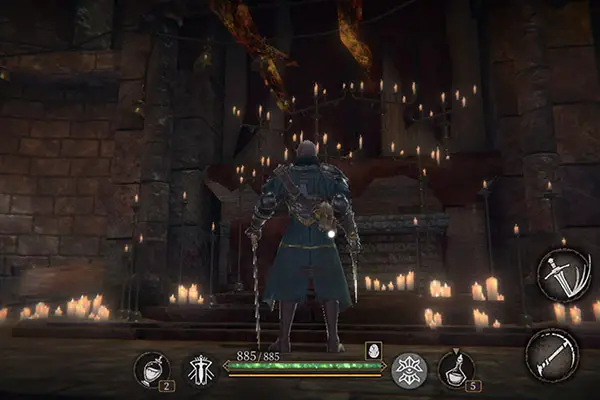
Head through the hole in the outer wall and follow the ledge to find a Heggie. Go back inside and head through either archway to trigger a short cutscene. After the cutscene, speak to Jerold, who is crouched on the ground. He urges you to leave before it’s too late. Turn around and climb the stairs to the altar. Click on the altar and place a fragment of the scarlet meteor upon it. This will trigger a cutscene involving Teresa. When you regain control of your character, pick up the key that has appeared on the altar. Before leaving the chapel, head between the pews behind Jerold to find another Heggie.
Go to the bottom of the Sacred Tower
Climb down the stairs and use the key to open the door to the lift. Take the lift down. When the lift stops, turn away from the closed gate, walk forward and jump down onto the ramp below. Continue down the path and jump down to trigger a cutscene, after which you’ll immediately enter a boss battle against the Fused Sprenger.
The Fused Sprenger
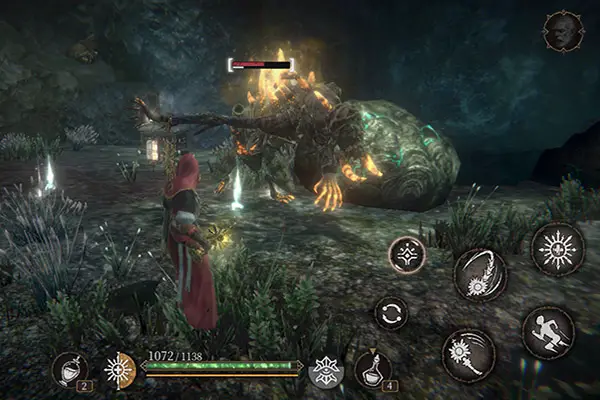
The Fused Sprenger is a large monstrosity that wields a staff. It will swipe out with its staff, so dodge out of the way. Though be prepared, as it usually will swipe out again in the opposite direction. The Fused Sprenger can evaporate into a purple mist and reappear right behind you. When you see a glowing orb appear, it means it’s about to teleport. Be ready with dodge or block. The Fused Sprenger also slams its staff down horizontally—if you’re caught by this attack you’ll be knocked down. Your best bet is to watch and learn its moves.
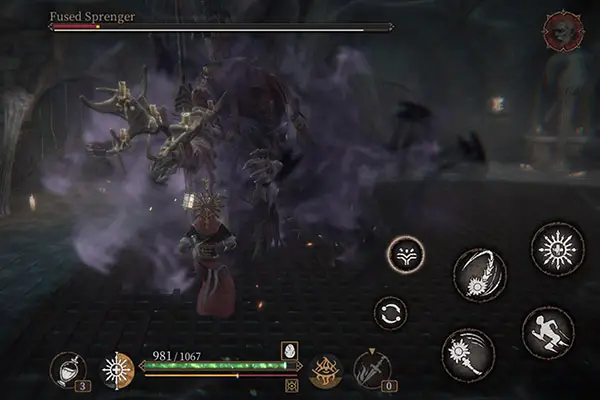
As you’re about to kill the Fused Sprenger, it seems to transform. Right when it’s about to attack, Jerold appears and destroys it. You learn that Teresa’s goal is not just to enter the Colossus Grave but to use a seal of Yekub to destroy the blessed lands as revenge against the church. After speaking with Jerold, take the lift.
The Grave Digger
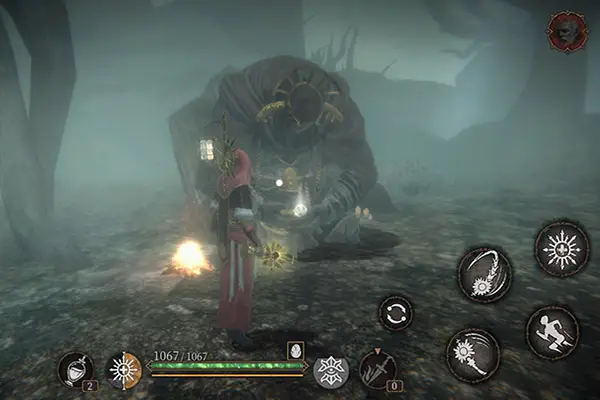
Use the lever to open the gate, then head forward past the lift you took earlier. Head through the archway to the left and climb the ladder. Use the lever to open the gate. Open the large doors to leave the tower. Head forward, then turn to your left. Cross the shallow water and enter the building. Open the door to unlock a shortcut. Backtrack to the main path away from the tower, this time taking the other path. Follow the path until you reach a large creature sitting by a campfire. Speak to the creature.
The creature says he is a grave digger who guides souls with obsession back to their resting place. He will give you a Melos Bottle which you can pay him to fill. You can also reset a character’s attribute points by offering the grave digger starry honey wine. Continue past the grave digger and kick down a ladder to the right. Climb down, turn to the right and ring the bell to return to the carriage. A cutscene will trigger. After the cutscene go to the map and travel to Edith to complete the chapter.
Be sure to also check out our Pascal’s Wager Walkthrough for chapter one, chapter two, chapter three, and chapter five as well as part one and part two of our Tips and Tricks Guide to Pascal’s Wager and its expansions.