Hardcore Droid’s Pascal’s Wager Chapter Six Walkthrough
After defeating the new colossus of Edith, Terrance and his companions travel to the Blessedlands. Full of cunning foes, Chapter six of Pascal’s Wager is the toughest one yet. Luckily, here at Hardcore Droid we’ve created this Pascal’s Wager Chapter Six Walkthrough to help you make your way through the Blessedlands in one piece.
The Blessedlands Await
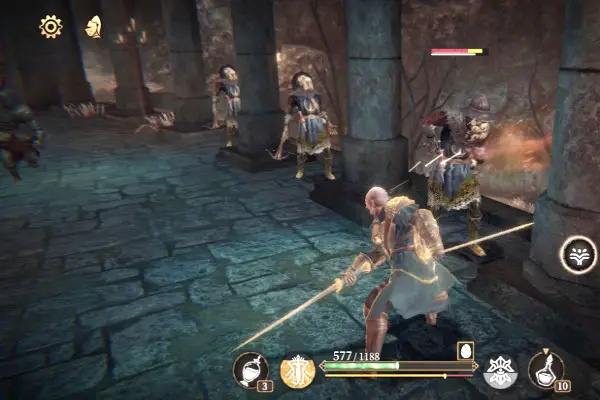
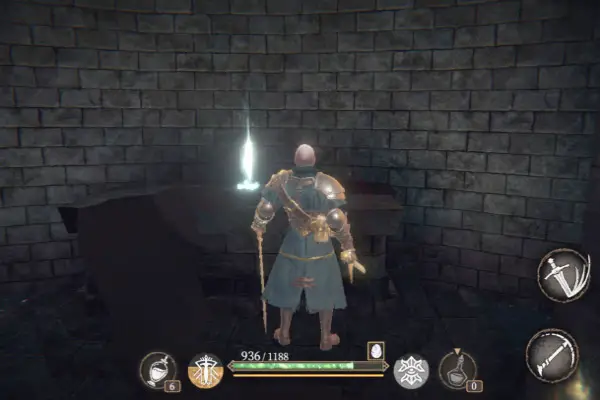
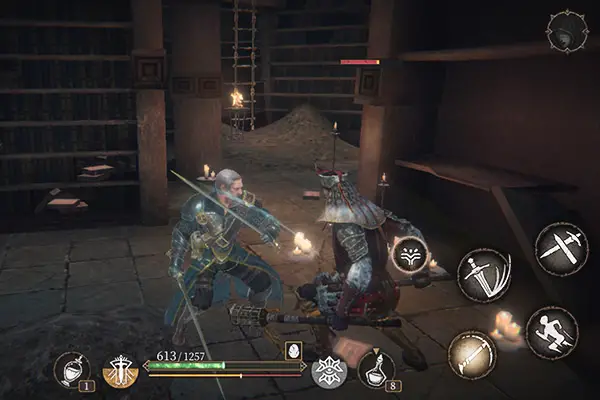
Once you arrive in the Blessedlands, head up the staircase, which will trigger a cutscene. Elena reminds Terrance his life belongs to the Demiurges. After the cutscene head forward and defeat the two mages, then continue up the stairs and activate the altar. To your right, across a gap, you’ll see a knight fighting a demiurge mummer. Head through the archway, turn right and jump onto the ledge. Jump through the open archway; head down the stairs and down the ladder. In a corner to the right is a Heggie. Go to the left of the stairs and take out the torch-wielding soldier.

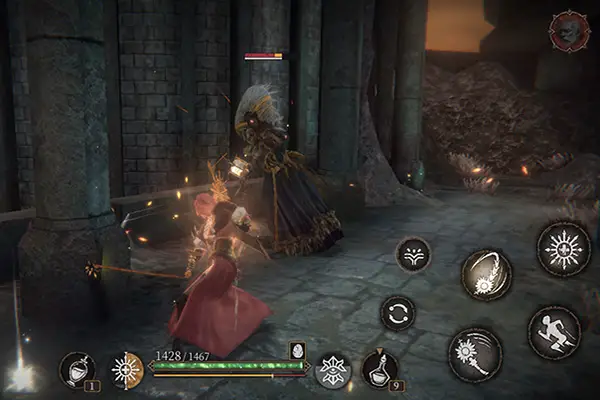
Be careful where you step when in the shallow water. There are deep holes here that will have Terrance or his companion falling to their death if you’re not careful. Go up the ramp and turn to the left. Here you’ll face a holy man who brandishes some kind of candelabra staff. Holy men sweep their staffs in wide arcs. They also raise their staffs into the air and swiftly bring them down, knocking you to the floor. You can block this attack with a well-timed dodge. Even more deadly, holy men also emit a radiant light from their mouths that temporarily stuns you. When you face a holy man twisting his head around, it’s time to dodge.
After dealing with the holy man, open the chest, turn around and climb the staircase. Deal with the two demiurge mages at the top of the stairs. Ahead, you’ll see a gate; however, it cannot be opened yet. Head up the ladder instead. Climb the staircase to your right. Three marred sunflowers will sprout when you reach the top. Take them down quickly as they can wreak havoc on your sanity if left unchecked. Once you’ve dealt with the sunflowers climb the ladder.
Die or Become the Sendril
When you reach the top, turn right. Take out the two noble women and open the chest, then turn around and take the path to the left. Take out the two noble women on this path. Head down the ramp through the hole in the tower wall. Turn left, and then turn through the archway to the left. Climb down the stairs and open the gate to unlock a shortcut back to the altar. Go back up the stairs and through the archway. If you wish, head down the short stairwell to the left and take out the knight we saw earlier.
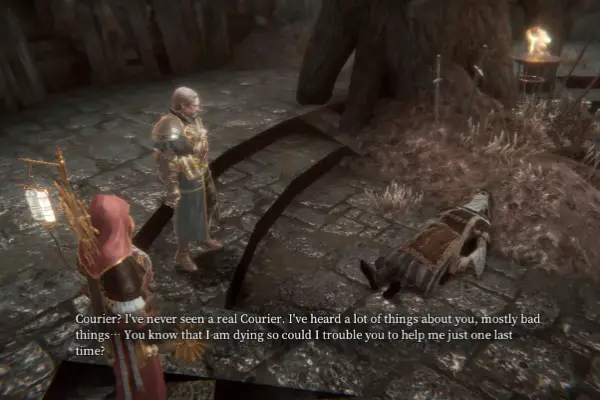
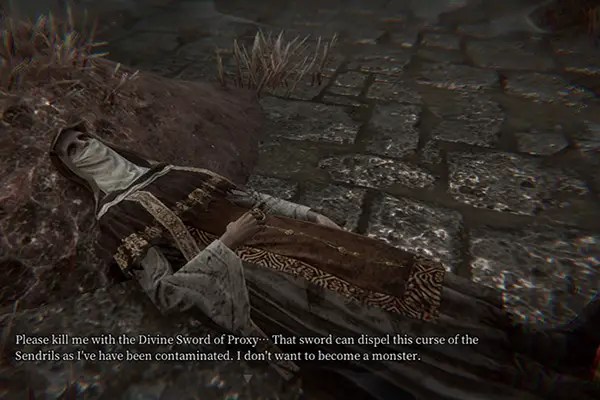
Speak with the dying demiurge in the center of the room. She asks you to kill her with the Divine Sword of Proxy, which will remove the curse of the sendrils. This begins the side quest: Die or Become the Sendril. After speaking with her, continue past the knight and jump down between the pillars. Interact with the Heggie to the right then follow the ledge to the left and climb down the ladder.
Journey On
Go through the archway. There’s a path to the right that leads to a tower but it’s currently locked so turn left. Open the chest to your left then climb the ladder. When you reach the top, you’ll see a sifler, who promptly opens the gate to your left and runs away. Head through the gate and to the right. You’ll find yourself in a familiar area. Climb down the ladder and up the stairs. You’ll notice the gate ahead—which was locked before—is now open. Head through the gate and down a short flight of stairs to find the sifler. Continue forward dealing with the sunflowers as they pop up. Take out the knight in front of the gate, which is currently stuck shut.

Turn around. As you near the gate, the sifler opened you’ll see a ladder on the wall. Climb it, cross the ledge, and climb the second ladder. Jump down and kill the luminous lizard marred. Continue to the left, then turn right at the brazier. If you continue straight instead, you’ll find yourself back in the circle room with pillars. A mummer lies in wait around the corner. Take him down then head forward down the stairs. Ignore the tower to your left for now.
Continue straight until you reach the end of the pathway, then turn right. Take out the holy-man and the two torch wielders. Continue into a circular room with a gaping hole in the floor. Jump down a few ledges on the left side of the room and take out the mummer. Turn to your right and take out another mummer, then climb the ladder, then turn right and open the chest. Unlock the gate, turn right and you’ll find yourself back in the circular room.
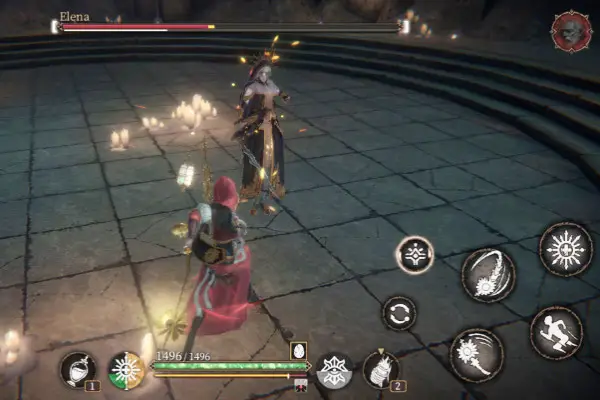
Elena’s Wrath
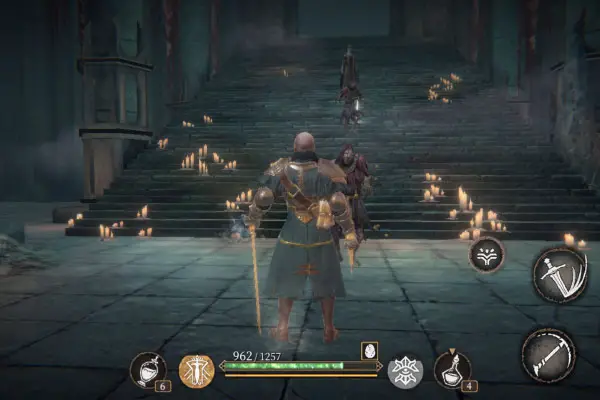
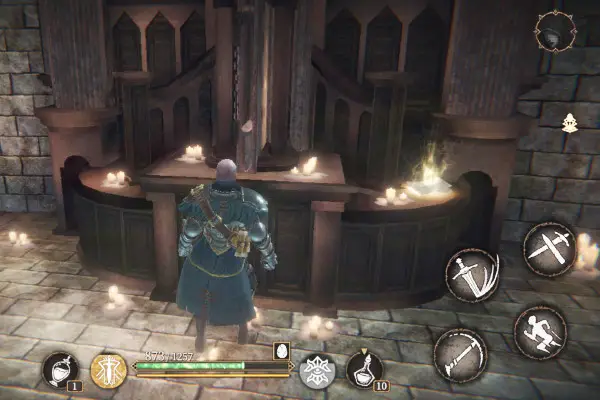
Continue down the path past the gate you opened. You’ll come to a bridge where three archers and a knight are waiting to attack. Defeat them all then cross the bridge and take out the holy man standing guard before a third locked tower. Climb down the ladder to the left and open the chest to obtain an immundus crystal. Climb back up then go down the ladder to the right and you’ll trigger a shortcut scene, after which you’ll have to battle Elena.
Elena attacks quickly and can parry your attacks with her blade. Don’t worry though, if she takes you down, she’ll suddenly turn to dust having been taken over completely by her thirst for revenge. Head around the corner and take out the mummer. Follow the path around the water’s edge to find another Heggie—this one seems to prefer bone fragments. Turn back and open the gate. If you’ve rested at the altar there will be a knight on the other side. You’ve just unlocked a shortcut back to the sifler.

Secret of the Four Holy Pillars
After opening the gate, turn around and cross the bridge to your left. Take out the mummer then enter the building. There are several closed cabinets around the room. If you open the one directly to your right, a knight comes out and attacks you. Speak to the wounded archer in the cabinet across the room. She gives you a key. Open each of the cabinets—some are empty while others hide knights. After defeating the knights gather the keys some of them drop. These keys will allow you to open the towers you’ve passed. Leave through the archway near the now deceased archer and go up the stairs. This will trigger a cutscene in which Terrance speaks with a blind priest. He asks Terrance to investigate the four holy pillars to learn what truly happened to them. This begins the side quest: The Secret of the Four Holy Pillars.

After speaking with the blind priest take the lift. Head to the right and kick down the ladder, then climb down. Defeat the two demiurge mages then open the gate before heading straight across from where you killed the mages and open the chest. Head back up the ladder, then take the other ladder up. This will trigger a short cutscene where you’ll see Teresa.
The Divine Sword
After the cut scene, approach the kneeling statue holding the Divine Sword. Take the sword and four archers will appear behind you. Turn around and climb down the stairs. Deal with the knight and archer then open the large double doors. Pick up the lackluster hand guard sitting on the altar. Glenn will comment that this must be what made the pillars weak. Leave the tower and take the small wooden ramp onto the ledge.
Follow the ledge to the left until you reach a ladder—climb down. Open the chest, climb back up and head to the opposite side of the ledge and down the ramp. Kick down the ladder and head through the archway. You are now back where you spoke with the dying demiurge woman. Speak to her again and use the Divine Sword to end her suffering. Unfortunately, it turns out the sword isn’t special at all and the woman is still taken over by the sendril. Defeat her in battle to complete the quest.
Investigate the Holy Pillars
Continue forward between a set of pillars. You’ll see a mummer fighting a knight. You can either join the fray or wait and take out whoever survives. Follow the path back to the large staircase. Climb down, turn left, and take down the holy man outside the tower. Open the doors, walk to the altar, and pick up the Fragment of the Sword. Backtrack to the circular room. Continue forward and take the path to the circular room with the gaping hole in the floor. Cross the bridge and open the doors to the tower. Take the broken blade from the altar.
Return to the room where you met the dying demiurge woman. Jump down through the two pillars as you did earlier and take the ladder on the ledge. This time, after heading through the archway, head down the ramp and carefully cross the waterlogged bridge to the tower. Open the doors and take the archaic hilt from the altar. Glenn mentions that, put together, the pieces seem to match the shape of an indent on the statue where you found the divine sword. Return to the statue and place the fragment into it.
Go to Trinity Yard
Approach the large double doors where you saw Teresa disappear earlier. To the right there’s a bell—ring it if you need to return to the carriage. Open the doors. Ahead you’ll see a demiurge mage and two mummers battling a knight. Deal with them then activate the altar to your right. There is a chest on either side of the staircase. Climb the stairs—you’ll find Elena waiting for you.
Battling Elena
Elena is a fierce foe. She uses successive rapid swings of her blade. Elena can parry attacks with such force that you’re left momentarily stunned. When you see a white mist gathering around her get ready to dodge—she’ll deal several speedy and devastating attacks. The best way to deal with Elena is to keep your distance. Use projectiles if you have them and only get up close for an attack or two at a time. Benita and Violet are great choices here as both can deal damage from a distance.
After defeating Elena continue to the next room where you’ll speak with the blind priest. Show him the sword and he’ll reveal some interesting information. This concludes the side quest: The Secret of The Four Holy Pillars. To your right is a sifler if you need to stock up on items. Head through the archway to your left and take out the holy man. Continue forward, deal with a second holy man then head through the doorway and kill the torch wielding soldier. Then climb the stairs and head up the ladder.
Find Proxy
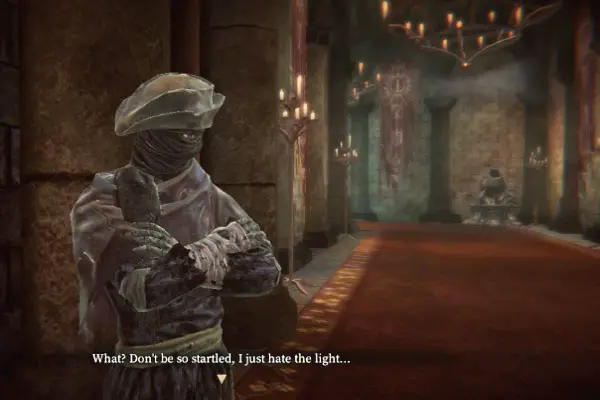
You’re now in a disused library. Turn to the left and you’ll see a door which can’t yet be opened. Continue forward, past the archway to your left. A torch wielding soldier waits here—take him out then head through the archway you just passed. Take down the axe wielding knight then open the chest for an immundus crystal. There is a large staircase to either side of you. Unfortunately, due to gaps in the floor you are unable to access them. Return to the library and continue to the right. Head between a pillar and a bookcase, take out the holy man who lurks here and open the chest. Head back between the bookcase and pillar and take the path to the right until you see a torch wielding soldier. Take him out then climb the ladder ahead.
Walk across the ramp to the left and continue forward across the top of the bookshelves. Take the ramp to your right, then continue toward the torch wielder. After dealing with him, climb the ladder. Follow the ledge to the right then jump down to the bookshelf and from there to the ground. Turn right and open the door—this unlocks a shortcut to the library. There are lots of goodies to pick up here, so make sure to do a sweep before climbing the ladder on the other side of the room.
Go to Proxy’s Chambers
Go through the hole in the wall and down the ramp. You’re now on the large staircase we couldn’t access earlier. Take down the axe wielding knight, then interact with the strange mechanism on the center of the platform. Head down the staircase to the right and through the archway. Turn right and go through the next doorway. Defeat the holy man, climb the stairs, and interact with a second mechanism. This will open a large door on the lower floor. Backtrack through the doorway Take the wooden ramp to the immediate left of the doorway you came through earlier and climb down the ladder.
Through the doorway and down the path to your left is a set of doors. Open them to unlock a shortcut back to the room where you last spoke with the blind priest. From here enter the newly opened pathway at the back of the room. Climb down the stairs then head forward. Then go up a short staircase and turn left. Open the chest in the next room before continuing up another set of stairs and down a ladder. Follow the path until you reach an altar. Activate and rest if you need to, then cross the next room and climb the stairs. You’ll see a body lying on a chase. Interact with the body to trigger a short cutscene.
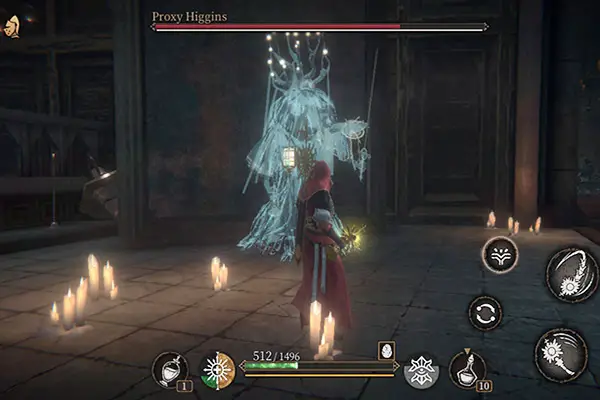
Proxy Higgins
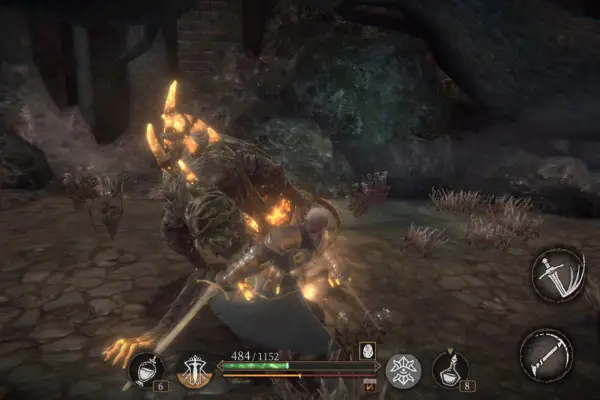
Proxy Higgins appears at the other end of the room and slowly makes his way towards the body. His three henchmen monstrosities attack you. Defend yourself, though it doesn’t matter if you beat them. Once Higgins reaches the body another cutscene triggers after which you’ll only have Higgins to deal with.
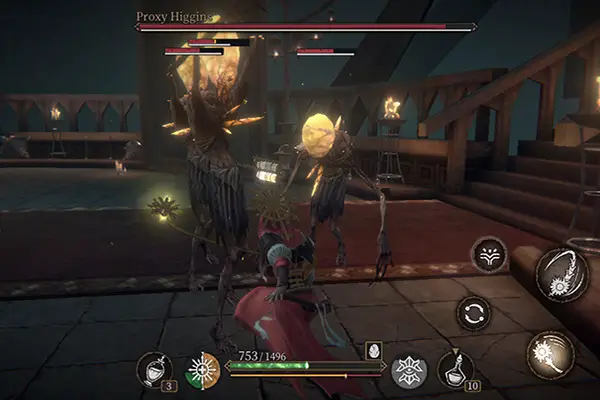
Proxy Higgins is a formidable foe. Dodge away when he raises his sword arm in the air—he’s about to cast an area of effect spell that will knock you on your butt. Proxy Higgins will disappear into the floor, then an apparition of him will appear somewhere in the room. You’ll need to take the apparition down to get the real Higgins to reappear—though he’ll only show up for a short time before sinking into the floor again. Each time you defeat an apparition run to the center of the room and get in as many hits against the real Higgins as possible. Not only are Proxy Higgins’ apparitions capable of teleportation, but they can also become momentarily incorporeal. Watch out for a devastating sword attack as well. It’s easy to predict an apparition’s next attack by watching their sword arm. Dodge is your best friend in this fight.
After defeating him, speak with him. A warning pops up. Alerting you that some characters will be unavailable in the following journey. Choose yes and a cutscene triggers which reveals a startling twist. After a shocking turn of events, Benita informs Terrance she found a key that will open a gate at the bottom of the sacred tower in Katib. As you leave the room, you’ll see Glenn, in human form. Speak to him and he’ll ask if you’re ready to go. Select yes to return to the carriage.
Go To the Bottom of the Sacred Tower of Katib
Travel to Katib and enter the sacred tower. Take the lift down to the room where you fought the fused sprenger back in chapter four. Enter the gateway and head down the path; you’ll see an intricately carved door ahead. Open it using Benita’s key. Head to the right and down the stairs. Ignore the doorway and continue down the stairs to find a Heggie. This one seems satisfied with offerings of sanity. Go back up the stairs and through the doorway, then activate the altar. You’ve now completed chapter six of Pascal’s Wager.
Be sure to also check out our Pascal’s Wager Walkthrough for chapter one, chapter two, chapter three, chapter four, and chapter five as well as part one and part two of our Tips and Tricks Guide to Pascal’s Wager and its expansions.